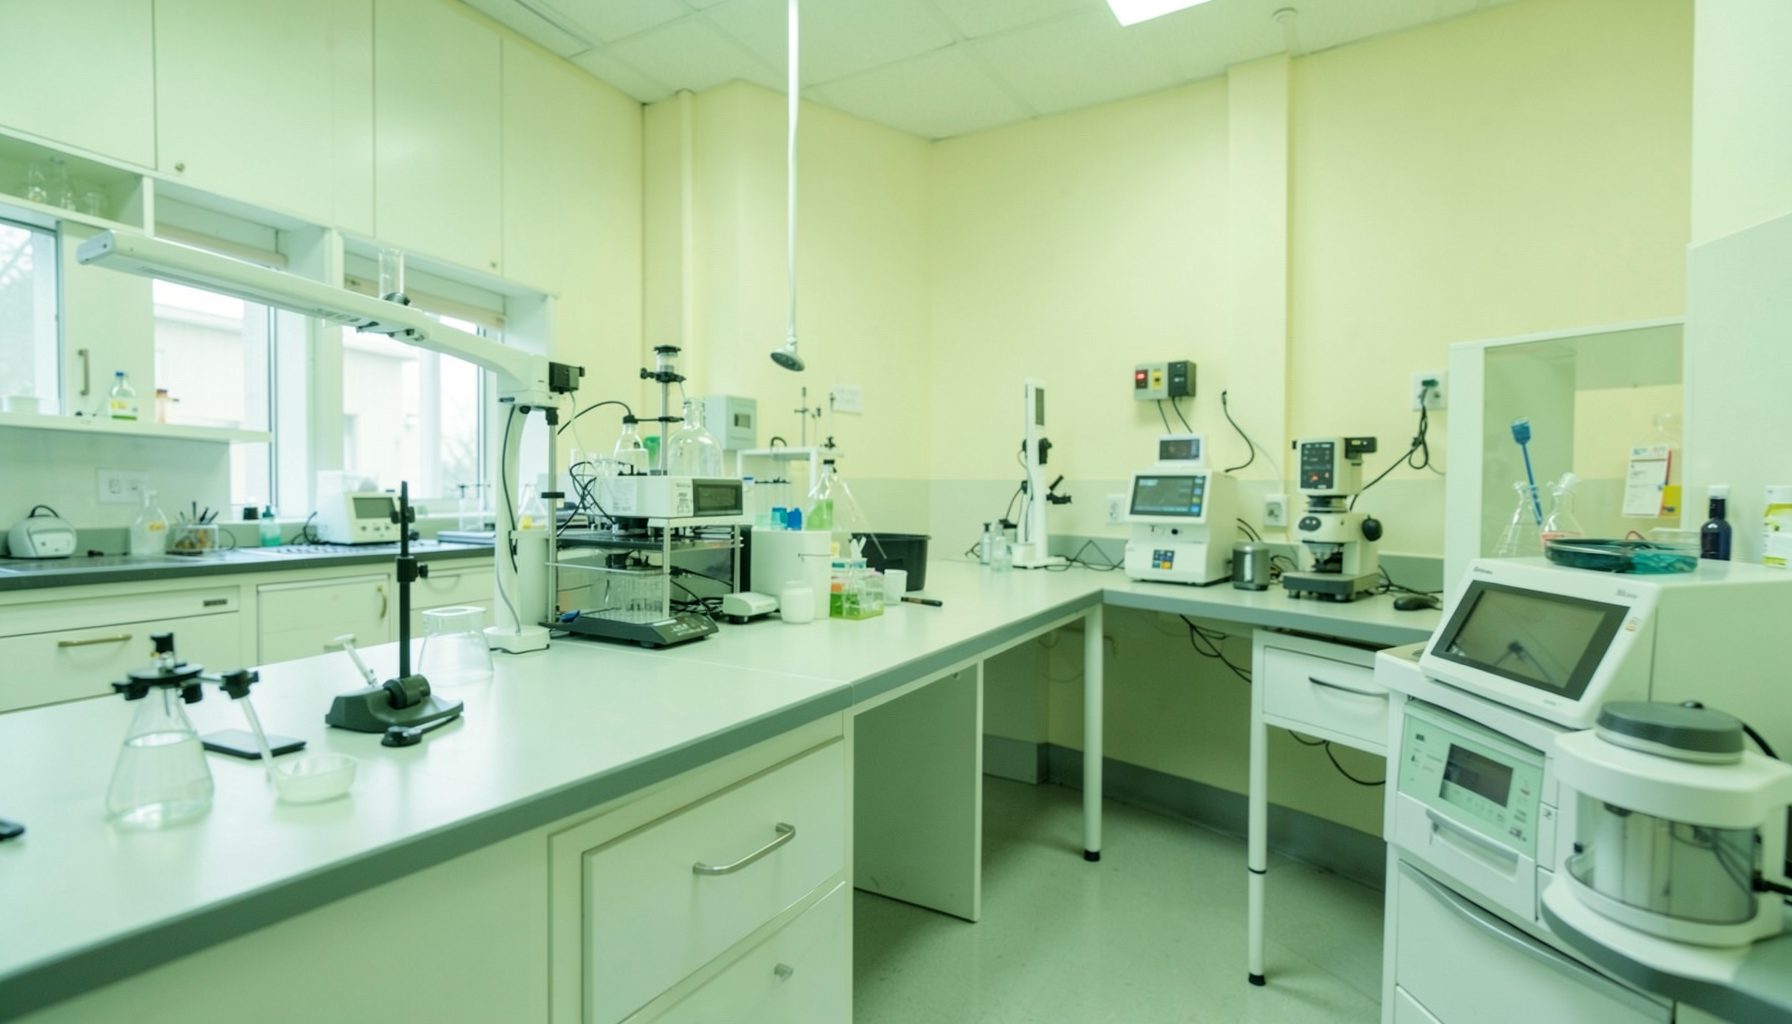
A practical weekly cleaning guide for TB laboratory work surfaces
A clean work area supports reliable tuberculosis testing, protects staff, and helps a laboratory maintain a functioning quality management system. Weekly cleaning is a planned activity that sits alongside daily housekeeping, cleaning after spills, and decontamination procedures linked to specific instruments or specimens.
The routine should be written into the laboratory’s standard operating procedures (SOPs), assigned to a named role, and checked by a supervisor. The exact disinfectant, dilution, contact time, and waste pathway must follow the product label, local policy, and the laboratory’s risk assessment.
This guide is designed for TB laboratory staff working in varied Australian settings, from metropolitan public laboratories in Sydney, Melbourne or Brisbane to smaller regional services and remote facilities. It focuses on work surfaces and the practical habits that make cleaning safe, repeatable and auditable.
Define the area and the frequency
Weekly cleaning should cover surfaces that are handled regularly or may collect dust, droplets and residue. Depending on the room, this can include benches, cabinet exteriors, drawer handles, cupboard pulls, taps, phone surfaces, computer keyboards with suitable protection, trolley handles and the outside of equipment. Internal instrument cleaning should follow the manufacturer’s instructions rather than an improvised weekly routine.
A weekly schedule does not replace cleaning at the end of a procedure or immediately after contamination. Work surfaces should be cleaned after a spill, visible contamination, a break in a specimen container, or any event described in the spill-response SOP. High-touch areas may need daily attention, particularly in busy specimen reception areas.
Use the laboratory’s quality system to define who cleans each zone, which day the task is due, and who verifies completion. The GLI Quality Tool provides phase-specific checklists that can help staff connect routine cleaning with broader quality activities such as safety, documentation and assessment.
Prepare safely before starting
Before touching cleaning products, review the relevant SOP and check whether the area is currently in use. Confirm that testing has stopped, specimens are secured, sharps and infectious waste have been removed safely, and any equipment that must remain powered is treated according to its instructions. Do not begin if there is an unexplained spill, damaged electrical equipment or a suspected exposure; use the laboratory’s incident procedure instead.
Wear the personal protective equipment specified by the risk assessment. This may include a closed laboratory coat or gown, gloves and eye protection where splashing is possible. Gloves do not replace hand hygiene, and they should be changed if torn, visibly contaminated or moved between dirty and clean areas. Keep food, drink, personal items and mobile phones away from the bench.
Check the product label before use. Confirm the expiry date, dilution, required contact time, storage conditions and whether the product is compatible with stainless steel, plastics, laminates, screens and other surfaces. Never mix bleach with acids, ammonia or other cleaning agents. Prepare solutions in a ventilated area and label any secondary container with the product name, concentration, preparation date and discard date.
Select suitable tools and disinfectants
Use disposable wipes or clean, low-lint cloths dedicated to the laboratory zone. Reusable cloths should have a documented laundering or decontamination process and must not travel between clean and contaminated areas. A colour-coded system can make this easier, especially in laboratories with several rooms or a mix of clinical and research activities.
The cleaning product should be appropriate for the organism risk and the surface. A detergent may remove dirt, while a disinfectant inactivates microorganisms when used at the correct concentration and for the full contact time. Staff should understand this distinction rather than assuming that a scented cleaner or a quick wipe provides disinfection.
For a biological safety cabinet (BSC), follow the cabinet manufacturer’s instructions and the laboratory SOP. Clean from the least contaminated area towards the most contaminated area, avoid blocking grilles, and do not spray directly onto electrical components or HEPA filter surfaces. BSC decontamination, certification and maintenance are separate controlled activities and should be performed by authorised personnel.
Follow a consistent cleaning sequence
Start by removing unnecessary items from the surface. Work methodically from higher surfaces to lower surfaces, and from cleaner areas towards dirtier areas. A practical sequence is handles and external surfaces first, then benches and adjacent work areas, followed by floors or lower surfaces if they are included in the task. Use a fresh section of the wipe or a new wipe as it becomes soiled.
Apply the product in the manner stated by the manufacturer. Keep the surface visibly wet for the complete contact time; wiping it dry immediately can reduce the intended effect. Do not use compressed air, vigorous brushing or actions that could spread contaminated droplets or aerosols. If a surface cannot tolerate the selected disinfectant, stop and seek advice from the supervisor rather than substituting an unapproved chemical.
Pay attention to frequently touched points that are easy to overlook: incubator handles, centrifuge lids, refrigerator pulls, light switches, chair controls, pipette stands and the edges of benches. Avoid immersing electrical devices. For keyboards and touchscreens, use manufacturer-approved wipes or protective covers, and prevent liquid from entering seams and ports.
Manage spills and contaminated waste
A weekly clean should never be used to deal with a known TB specimen spill. Restrict access, allow aerosols to settle when required by the spill SOP, and follow the laboratory’s documented response. Staff should know where the spill kit is kept, what PPE is required, how disinfectant is prepared, and whom to notify. Any exposure, injury or near miss should be reported through the local incident system.
Place used wipes, disposable gloves and other contaminated materials into the approved infectious waste stream. Do not overfill bags or carry open waste through clean areas. Dispose of sharps immediately in a puncture-resistant sharps container. If a reusable tool is used, transfer it in a closed, labelled container for processing.
Australian laboratories may operate under state or territory health department requirements, local council waste arrangements and NATA accreditation expectations. The laboratory manager should ensure that the cleaning procedure matches applicable biosafety, occupational health and waste rules. In regional or remote services, where supply deliveries can be less frequent, minimum stock levels for wipes, PPE and spill-kit materials should be defined rather than relying on an urgent order.
Document and verify the activity
A useful cleaning record is brief but specific. It should identify the room or work zone, date, time, person completing the task, product and concentration used, and any problems found. The staff member should sign or initial the record only after the task is complete. Electronic records are suitable if access, editing and retention are controlled.
A supervisor or delegated quality officer should periodically check the area and review the record. Verification can include observing technique, confirming contact time, checking product labels and inspecting hard-to-reach surfaces. The aim is to identify system problems, such as unclear ownership, insufficient supplies or an unsuitable disinfectant, rather than to create paperwork with no action.
Cleaning trends can be discussed during toolbox meetings or quality meetings. If repeated omissions occur on a particular shift, revise the roster, provide refresher training or place the checklist at the point of use. Guidance on developing a practical quality manual guide can help laboratories link this small routine to controlled documents, responsibilities and continual improvement.
Make the routine work in local conditions
Australian laboratories vary widely in workload, building design and staffing. A large metropolitan TB service may need separate schedules for specimen reception, molecular testing rooms, culture areas and shared staff spaces. A regional laboratory may have one person covering several duties, while a remote service may need a simple procedure that works during staff rotations and planned supply runs.
Consider the local environment when setting the cleaning day. Dust, heat, humidity, air-conditioning patterns and construction work can affect how quickly surfaces become dirty. In areas affected by wet-season conditions in Far North Queensland or by dry, dusty conditions inland, the supervisor may need to review whether weekly cleaning remains adequate. Avoid adding water to dust or using methods that generate aerosols.
Use plain language that staff will actually use at the bench. Terms such as “wipe down,” “contact time,” “clean-to-dirty” and “sign off” are practical when they are defined in the SOP. New starters, agency staff and visiting scientists should receive the same instruction, with competency demonstrated before they clean independently. The GLI Quality Tool offers a broader framework for building these routines into a laboratory quality management system.
| Activity | When to perform it | Main purpose | Record or response |
|---|---|---|---|
| Routine surface cleaning | Daily or at the end of a procedure, as defined locally | Remove residue and reduce contamination on frequently used areas | Daily log or task checklist |
| Weekly planned cleaning | On an assigned day or shift each week | Clean less frequently reached surfaces and verify the work area systematically | Weekly cleaning record and supervisor review |
| Spill response | Immediately, following the spill SOP | Control exposure and safely decontaminate a contaminated area | Incident or exposure report |
| Equipment-specific cleaning | At the frequency stated by the manufacturer and SOP | Protect equipment performance and maintain safe operation | Equipment maintenance record |
A reliable weekly routine is clear about its boundaries: what is included, what is excluded, which product is approved, how long it must remain wet, and what to do when something goes wrong. Print the current checklist near the relevant work area, keep supplies together, and review the procedure whenever equipment, disinfectants, room layout or biosafety requirements change.
Build the task into the next quality meeting, assign responsibility for the coming week, and use the completed record to confirm that the laboratory’s work surfaces are being managed as planned. Explore the GLI resources, adapt the procedure to your facility, and train every staff member who may be asked to perform the cleaning.