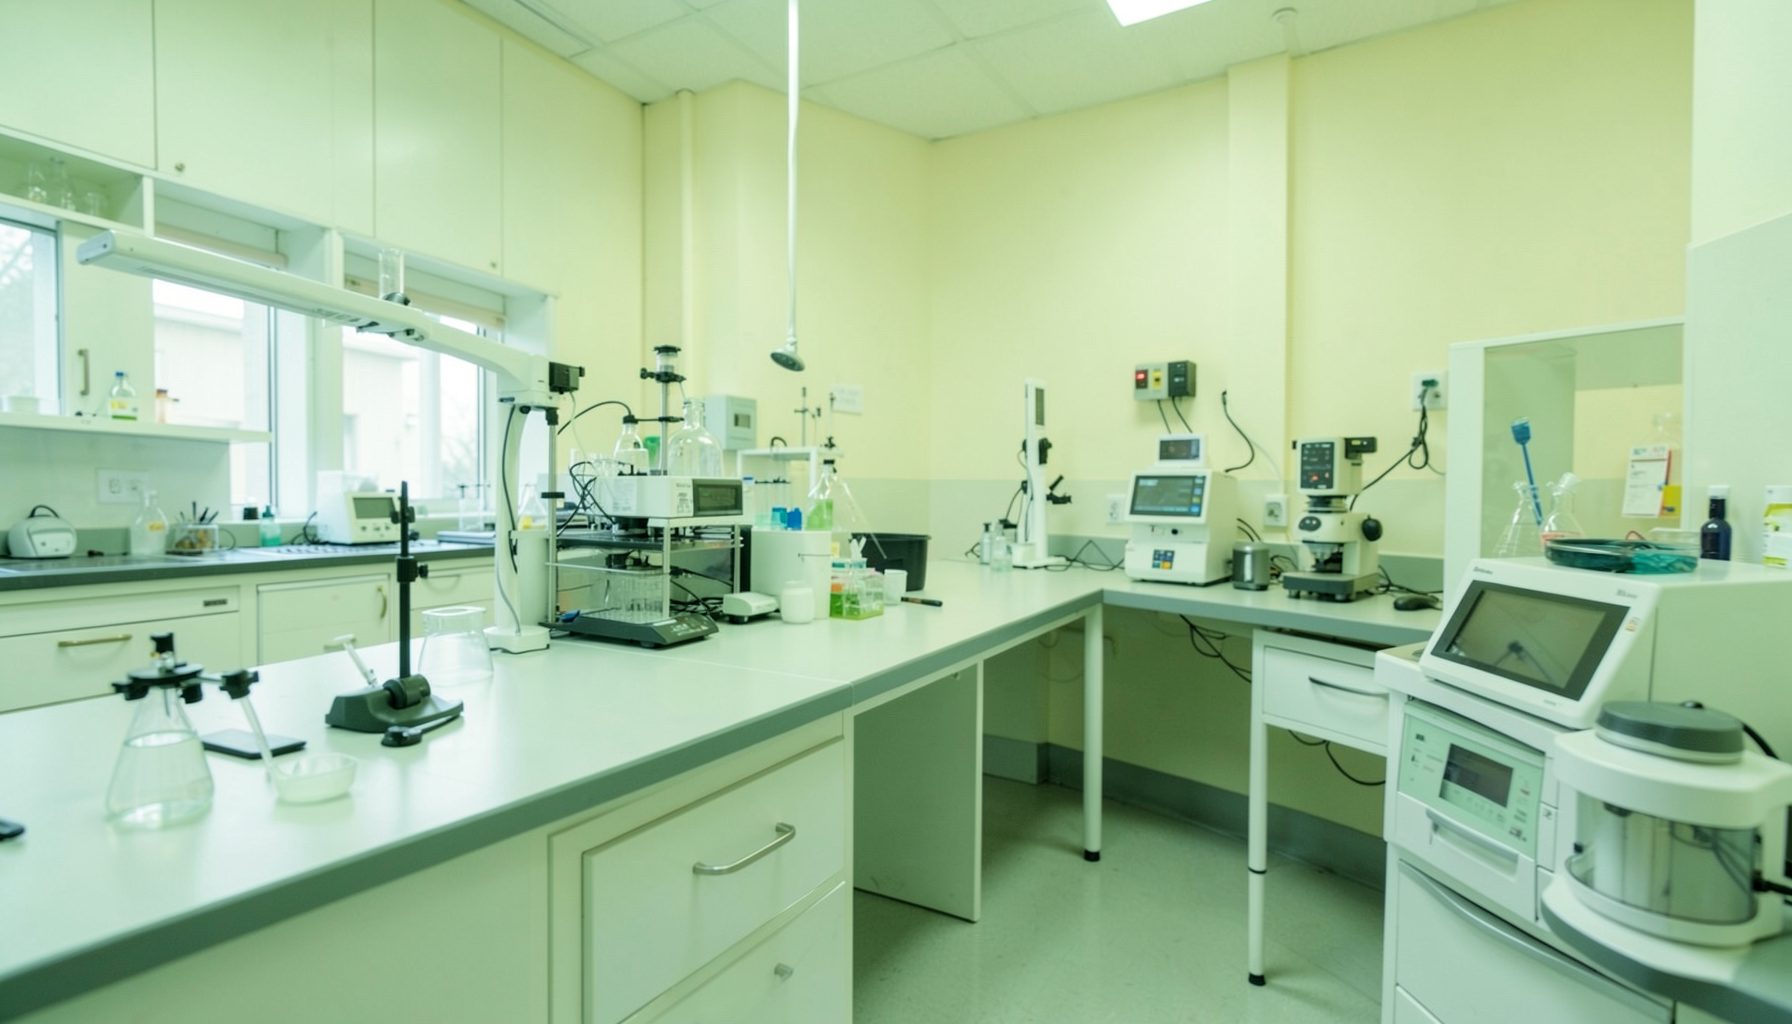
Writing a TB laboratory procedure for decontaminating work surfaces
A molecular amplification run can leave amplicon—the amplified DNA fragment—on work surfaces, pipette bodies, tube racks and frequently touched equipment. The contamination may be invisible and can contribute to false-positive results if carried into a later reaction. A written TB laboratory procedure makes the post-run clean-down repeatable rather than leaving it to individual habits.
That means more than instructing staff to wipe the bench. The document should define what is cleaned, which method applies, how long the surface must remain wet, who checks the work and what happens when a step is missed. In Australian laboratories, “run” and “clean-down” are common working terms; defining them in the procedure helps technicians, supervisors and quality staff apply the same standard.
Purpose, scope and quality alignment
Begin with purpose and scope. State that the procedure removes residual nucleic-acid contamination from designated surfaces after molecular amplification runs. Name the covered areas, such as the post-amplification bench, pipette exteriors, tube racks, heat-block surfaces and shared equipment controls. Exclude reagent preparation, extraction areas and instrument maintenance unless the risk assessment supports inclusion, because contamination controls are not interchangeable between work areas.
Link the procedure to the laboratory quality management system and its risk assessment. The Global Laboratory Initiative guide to twelve Quality Systems Essentials is useful for mapping decontamination to safety, personnel competence, equipment, documentation, assessment and continual improvement. Reference the relevant phase checklist, infection-control plan and manufacturers’ instructions. This creates an auditable chain from the identified hazard to the work instruction, training record and review evidence.
Define the workflow and responsibilities
Define the trigger and sequence clearly. “After every molecular amplification run” should be followed by a short sequence: close and secure the run area, remove disposable items, clean visibly soiled surfaces, apply the validated nucleic-acid decontamination method, complete the required wet contact time, remove residues as specified and record completion. Identify who releases the area for reuse and require a clean-down before the next batch starts.
Assign responsibilities by name or role. The operator conducts the clean-down and records it; the supervisor verifies difficult-to-observe steps and authorises reopening; the biosafety or infection-control officer approves the risk assessment; and the quality manager controls the document. State what assistance is required when a reagent is unavailable, a surface is damaged or decontamination cannot be completed within the expected workflow.
Account for local conditions and specimen flow. In Darwin and other northern Australian centres, heat and humidity can evaporate a wetted bench quickly, so staff must reapply the product if the surface dries before the validated contact time. Melbourne and Sydney laboratories may receive batches from regional and remote services by road or air courier. Linking area-release times to run records prevents incoming specimen processing from interrupting an incomplete clean-down.
Specify reagents, safety controls and contact time
Specify the decontamination product precisely. For a hypochlorite-based method, state the required concentration as available chlorine, the dilution method and preparation time. For a commercial DNA-removing wipe or liquid, give the product name, application method and labelled contact time. “Bleach” alone is inadequate because strengths and formulations vary between products sold in Australia. Record the brand and lot so substitutions can be assessed before use.
Set chemical-safety controls in the same section. Require eye protection, a laboratory coat and gloves selected using the Safety Data Sheet. State that hypochlorite must never be mixed with acids, ammonia or other cleaners, and that incompatible products must not be used consecutively without the validated removal step. Direct staff to the locally approved chemical or clinical-waste stream for contaminated wipes rather than the sink. Keep the procedure in a designated, ventilated area and prevent sprays near open equipment or electrical fittings.
Explain the difference between cleaning, disinfection and DNA removal. Remove visible soil first because residues can reduce contact with the decontaminant. Use the laboratory’s validated routine cleaning and disinfection process where applicable, then apply the DNA-removal method to the defined amplification area. A 70% ethanol wipe may be required to remove hypochlorite residue from compatible surfaces; it does not replace a validated nucleic-acid decontamination step or disinfection against viable mycobacteria.
Draft the step-by-step method
Write the method as an unambiguous sequence of actions. Begin with the operator confirming the run identifier and checking the surface against a simple bench map. Direct staff to apply the product to a disposable wipe rather than pouring it onto the bench, wipe designated areas in a consistent direction and use a fresh section of the wipe for each zone. State the required wet contact time, residue-removal method and visual check for remaining moisture or soil before release.
Include surfaces that are easy to omit, especially pipette bodies, vortex-pad surrounds, centrifuge housings, instrument touch panels, rack handles and keyboard controls used in the post-amplification area. Identify which are wipeable, which require a manufacturer-approved method and which must not be sprayed. Add a photograph or simple diagram if it reduces ambiguity, but keep it consistent with the current equipment layout and the manufacturer’s instructions.
Handle exceptions rather than hiding them in a generic instruction. Make it clear that an amplicon spill, visibly contaminated surface or missed clean-down triggers containment, notification and documented corrective action. Refer staff to a separate biosafety spill procedure where open tubes or aerosols may be involved. A routine clean-down is not a substitute for an assessed spill response.
Build records and verification into the procedure
Build records that demonstrate what was done, when it happened and who completed it. A concise log or controlled electronic entry should connect the clean-down with the relevant amplification run.
- Describe the purpose in one sentence: remove residual nucleic acid after molecular amplification and reduce the risk of carryover contamination.
- List every included surface, the approved product and concentration or application method, and the required wet contact time.
- Record the run identifier, date, operator, area, product brand, lot, dilution or preparation details and actual completion time.
- Reference the risk assessment, Safety Data Sheet, product instructions and equipment guidance so users can verify the controls.
- Define clear triggers for re-cleaning, escalation and repeat decontamination after spills, visible soil or premature drying.
- Require a documented check by another competent person for critical steps and explain how nonconformities enter the corrective-action system.
When a clean-down fails, require the area to remain closed while the deviation is assessed. Repeat the process using the correct product and contact time, determine whether associated results require review, and record the cause and corrective action. Consider training, product supply, bench layout or competing workload as possible causes rather than treating every failure as an individual error. Continual improvement should include checking whether the procedure remains practical when staffing, equipment or testing schedules change.
Review, approve and implement the procedure
Test the draft through a structured review involving the laboratory operator, supervisor, biosafety or infection-control officer, quality manager and equipment representative. Check that every product concentration and contact time has a documented basis, that chemical controls match the Safety Data Sheets, and that the method is compatible with the equipment. Record approval, effective date, review date and version number in the document-control system.
Train staff before independent use. A practical demonstration can cover dilution, application, wet contact time, residue removal and completion of the log. Use “run” and “clean-down” consistently while explaining the intended purpose and the consequences of skipped steps. Where staff support regional or remote services, provide the same controlled instruction and remote review expectations used for on-site laboratory personnel.
Use the GLI user instructions to locate the relevant phase checklist and downloadable materials, then turn the procedure into a controlled document. Obtain approval from the operator’s manager, biosafety or infection-control officer and quality manager, train staff, schedule the first supervised clean-down and record its review. Complete approval and competency assessment before routine use, then begin every run with a ready workstation and close every run with a traceable decontamination record.