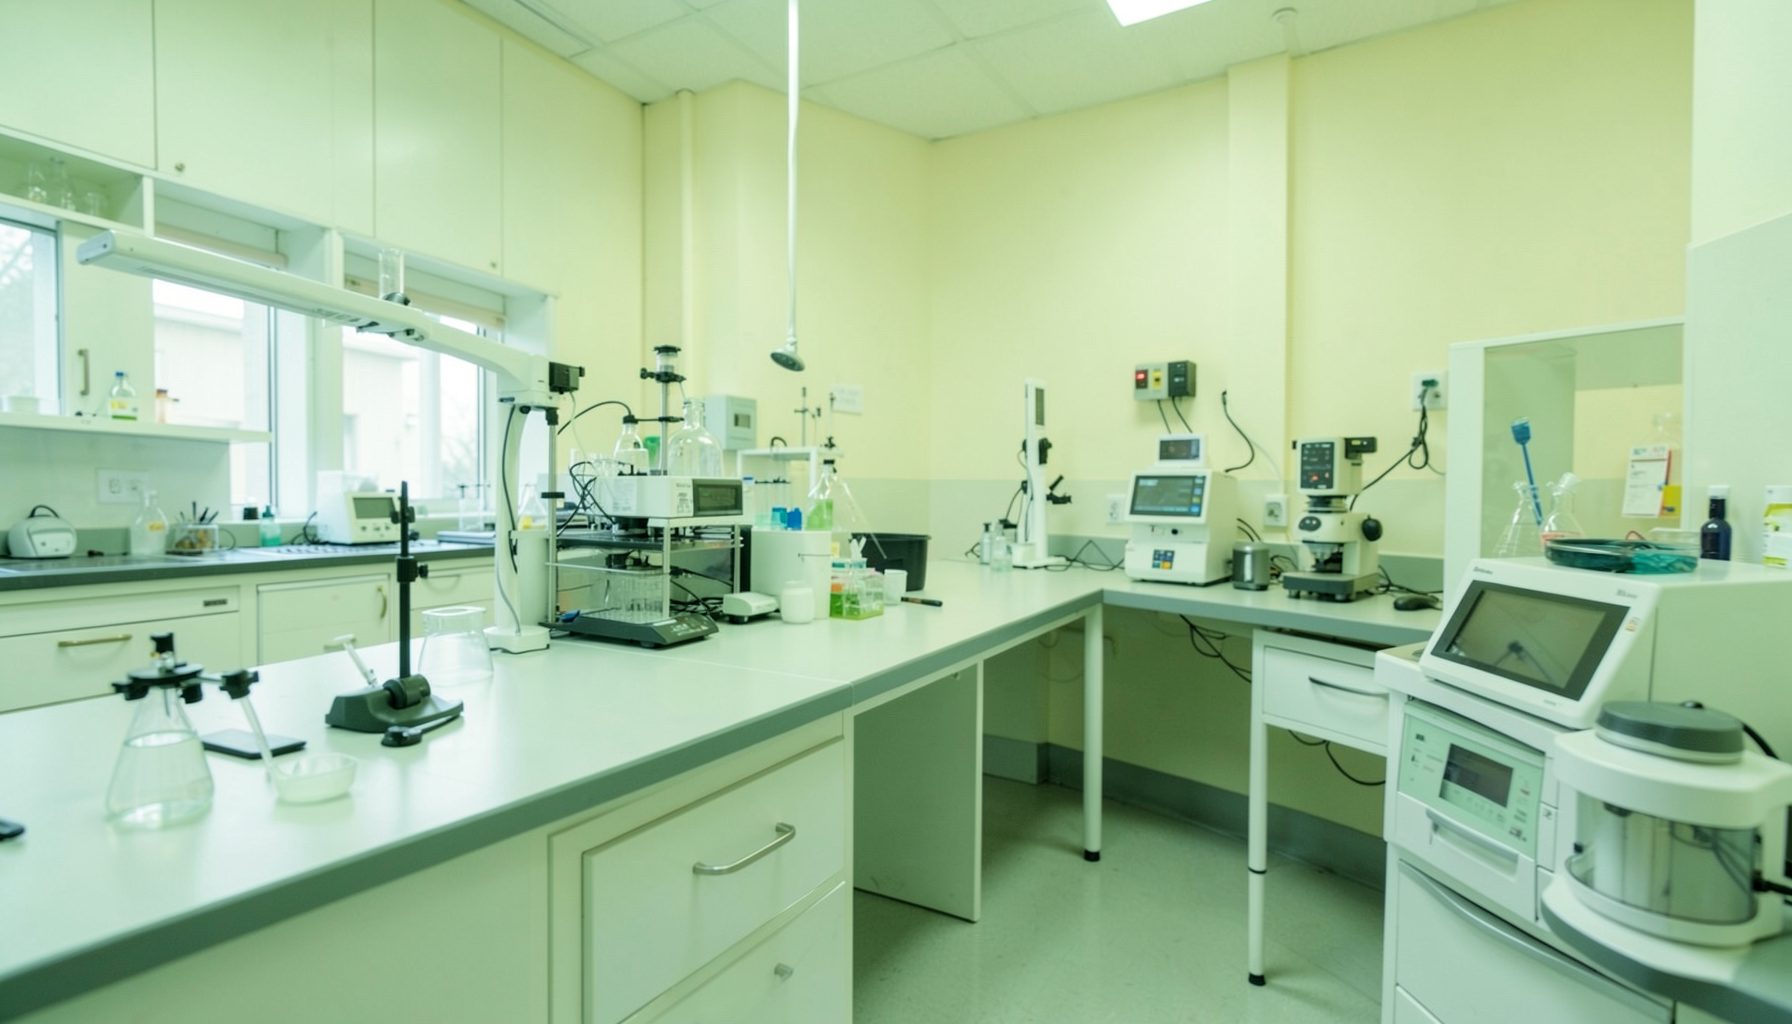
Planning A TB Laboratory Layout For Safer Sample Processing
A well-planned tuberculosis laboratory layout reduces the chance that infectious material, aerosols, contaminated equipment, or handwritten records will move into clean work areas. The physical arrangement should support the testing workflow from specimen receipt through processing, analysis, reporting, decontamination, and waste removal.
Layout decisions are part of a broader laboratory quality management system. They connect laboratory safety, facilities, equipment, personnel, documentation, assessment, and continual improvement. A practical design can also help staff work consistently when space, funding, and engineering controls are limited.
The most effective plan is based on risk rather than appearance. A small facility can achieve safer separation with clear zoning, one-way movement, dedicated work surfaces, controlled access, and well-defined cleaning procedures. A large facility can still create hazards if samples and staff routinely cross through unsuitable areas.
Map The Workflow Before The Rooms
Begin by mapping every step a specimen follows. Include registration, temporary storage, preparation, testing, result verification, referral, waste handling, and equipment decontamination. Mark where an open container, aerosol-generating procedure, or contaminated item may be present. This exercise often reveals risky shortcuts that are not obvious on a floor plan.
The preferred movement is from areas with the lowest contamination risk toward areas with greater biological risk, without requiring staff or specimens to move backward through clean zones. Specimens should enter through a controlled receiving point, while reports, supplies, and clean materials should use routes that do not intersect with infectious samples or waste.
Consider people as well as materials. Staff may need access to handwashing facilities, changing areas, break spaces, emergency exits, and storage rooms. Visitors, couriers, maintenance workers, and cleaners should not need to pass through active testing areas. If a single corridor serves several functions, use scheduling, signage, access controls, and sealed transport containers to reduce contact.
Create Functional Zones And Barriers
Divide the laboratory into functional zones that reflect the level and type of risk. A receiving and registration area should be physically or operationally separated from specimen processing. Testing areas should be arranged according to the procedures performed, with special attention to steps that can generate aerosols. Clean supply storage, administrative work, and result review belong outside the highest-risk workspace.
The barriers between zones do not always need to be permanent walls. Depending on the setting, they may include doors, pass-through windows, controlled access, marked boundaries, dedicated benches, splash screens, or separate schedules. However, a barrier is useful only when staff understand its purpose and can maintain it during busy periods.
Avoid placing clean consumables, paperwork, phones, keyboards, or personal items on benches used for open specimens. Where space is constrained, use dedicated containers and cleanable partitions. Keep a visible distinction between clean and contaminated supplies, and provide enough storage so that boxes do not accumulate on floors or block ventilation grilles.
Control Air, Surfaces, And Movement
Airflow is an important consideration wherever infectious aerosols may be produced. The layout should support appropriate ventilation and prevent air from moving from a higher-risk area into a clean area. Do not position open windows, fans, doors, or air-conditioning outlets in ways that push potentially contaminated air toward corridors, offices, or specimen receipt points.
A biosafety cabinet, when required for the procedure, needs sufficient clearance from doors, high-traffic routes, and strong air currents. It also needs space for safe loading, cleaning, maintenance, and certification. The cabinet should not become a general storage surface, and equipment inside it should be limited to items necessary for the work.
Choose surfaces that are smooth, durable, non-absorbent, and resistant to the disinfectants used by the laboratory. Seal joints and repair damaged worktops, flooring, walls, and ceilings because cracks can retain contamination and make cleaning unreliable. Handwashing facilities should be convenient to the work area without forcing staff to touch contaminated handles on the way to the sink.
Match Layout Controls To Laboratory Activities
Different TB testing activities create different contamination pathways. Smear preparation, culture-related work, molecular testing, specimen aliquoting, and waste treatment should be assessed separately rather than treated as a single generic process. The location of each activity should reflect whether materials are open, sealed, inactivated, or capable of generating aerosols.
A separation between pre-amplification and post-amplification areas is essential for molecular workflows. Reagents and clean consumables should enter the clean area without passing through spaces where amplified products are handled. Amplified material, used plates, and waste should leave by a route that does not return to reagent preparation or specimen setup.
The following comparison can help translate risk assessment into physical and operational controls:
| Laboratory function | Main contamination concern | Preferred layout control | Supporting practice |
|---|---|---|---|
| Specimen receipt | Leaking containers and crowded handover points | Controlled receiving bench away from clean offices | Inspect packaging and use secondary containment |
| Specimen preparation | Splashes, spills, and aerosols | Restricted processing zone with suitable containment | Limit bench items and disinfect between activities |
| Molecular reagent preparation | Introduction of organisms or amplified material | Separate clean room or clearly controlled clean area | Use dedicated equipment and protective clothing |
| Amplification and result analysis | Carryover of amplified products | Keep post-amplification work physically downstream | Seal materials and control waste movement |
| Waste handling | Contamination of corridors and storage areas | Direct route to secure treatment or collection point | Use labeled, leak-resistant containers |
| Supplies and records | Contamination of clean items and documents | Store outside active specimen zones | Use electronic records or protected paperwork |
When a separate room is impossible, apply layered controls. Schedule clean work before higher-risk work, use dedicated equipment, define a cleaning sequence, and prevent simultaneous activities that could create cross-contact. Document the arrangement so it remains consistent across shifts and can be reviewed during internal assessments.
Design For Staff Safety And Reliable Cleaning
A safe floor plan must be usable during routine work, emergencies, and cleaning. Provide adequate clearance around benches and equipment so staff can move without brushing against specimens or containers. Keep emergency exits, eyewash facilities, fire equipment, and spill supplies accessible. Do not allow refrigerators, boxes, or waste bins to narrow walkways.
Cleaning routes deserve the same attention as specimen routes. Cleaning staff should be able to enter each zone with the correct personal protective equipment and supplies without carrying contaminated materials through clean areas. Define which surfaces are cleaned first, which are cleaned last, what disinfectant is used, and how contact time is achieved.
Personnel need clear instructions for spills, dropped tubes, power failures, ventilation problems, and equipment breakdowns. The phase guidance can help laboratories connect physical improvements with the broader quality management roadmap and identify which procedures, records, and responsibilities should accompany a layout change.
Plan Equipment, Storage, And Records
Equipment placement should support safe operation, preventive maintenance, calibration, and decontamination. Leave access panels reachable and avoid positioning instruments where vibration, heat, moisture, or unstable power could affect performance. Large analyzers should not obstruct emergency routes or force staff to carry open specimens across the room.
Storage should follow the same risk logic as the workflow. Keep clean reagents, patient specimens, retained samples, controls, and waste in clearly identified locations. Refrigerators and freezers should be labeled by purpose, with spill-resistant organization that prevents a tube from being hidden behind unrelated materials. Secondary containment is particularly important for transport and temporary storage.
Records are part of contamination control because paperwork and devices can carry contamination between zones. Use dedicated pens, wipeable keyboards, protected forms, or electronic systems where feasible. A clear sample identification process also prevents unnecessary searching and handling. For retreatment cases, laboratories can use this sample tracking guidance to strengthen traceability while reducing repeated specimen movement.
Prioritize Improvements And Verify Performance
Not every laboratory can rebuild its premises, so improvements should be ranked by risk. First address uncontrolled movement of infectious specimens, inadequate containment for aerosol-generating procedures, blocked emergency access, poor ventilation, and the mixing of clean and contaminated supplies. Smaller changes, such as relocating a waste bin or adding a dedicated transport box, can remove important hazards quickly.
Use a documented assessment to verify whether the proposed layout works in practice. Observe a complete specimen journey, interview staff from different shifts, review incident and spill records, and check whether cleaning logs match actual conditions. Reassess the layout after introducing new instruments, changing test methods, increasing workload, or modifying staffing.
Practical priorities include:
- Draw the specimen, staff, supply, and waste pathways on the same floor plan.
- Separate clean, specimen-processing, post-amplification, and waste-handling activities.
- Position containment equipment away from doors, fans, and busy traffic routes.
- Provide dedicated storage and transport containers for each risk category.
- Review the layout regularly through audits, incident investigations, and staff feedback.
A TB laboratory layout should make the safest action the easiest action. Start with a workflow map, apply controls that match the actual procedures, and record the reasons for each zoning decision. Then test the design during ordinary work rather than relying solely on the plan.
Use the GLI Quality Tool’s phased resources to turn the assessment into assigned actions, documented procedures, and measurable follow-up. A layout that is reviewed, maintained, and improved over time will provide stronger protection against cross-contamination than a design that is treated as finished once the rooms are occupied.