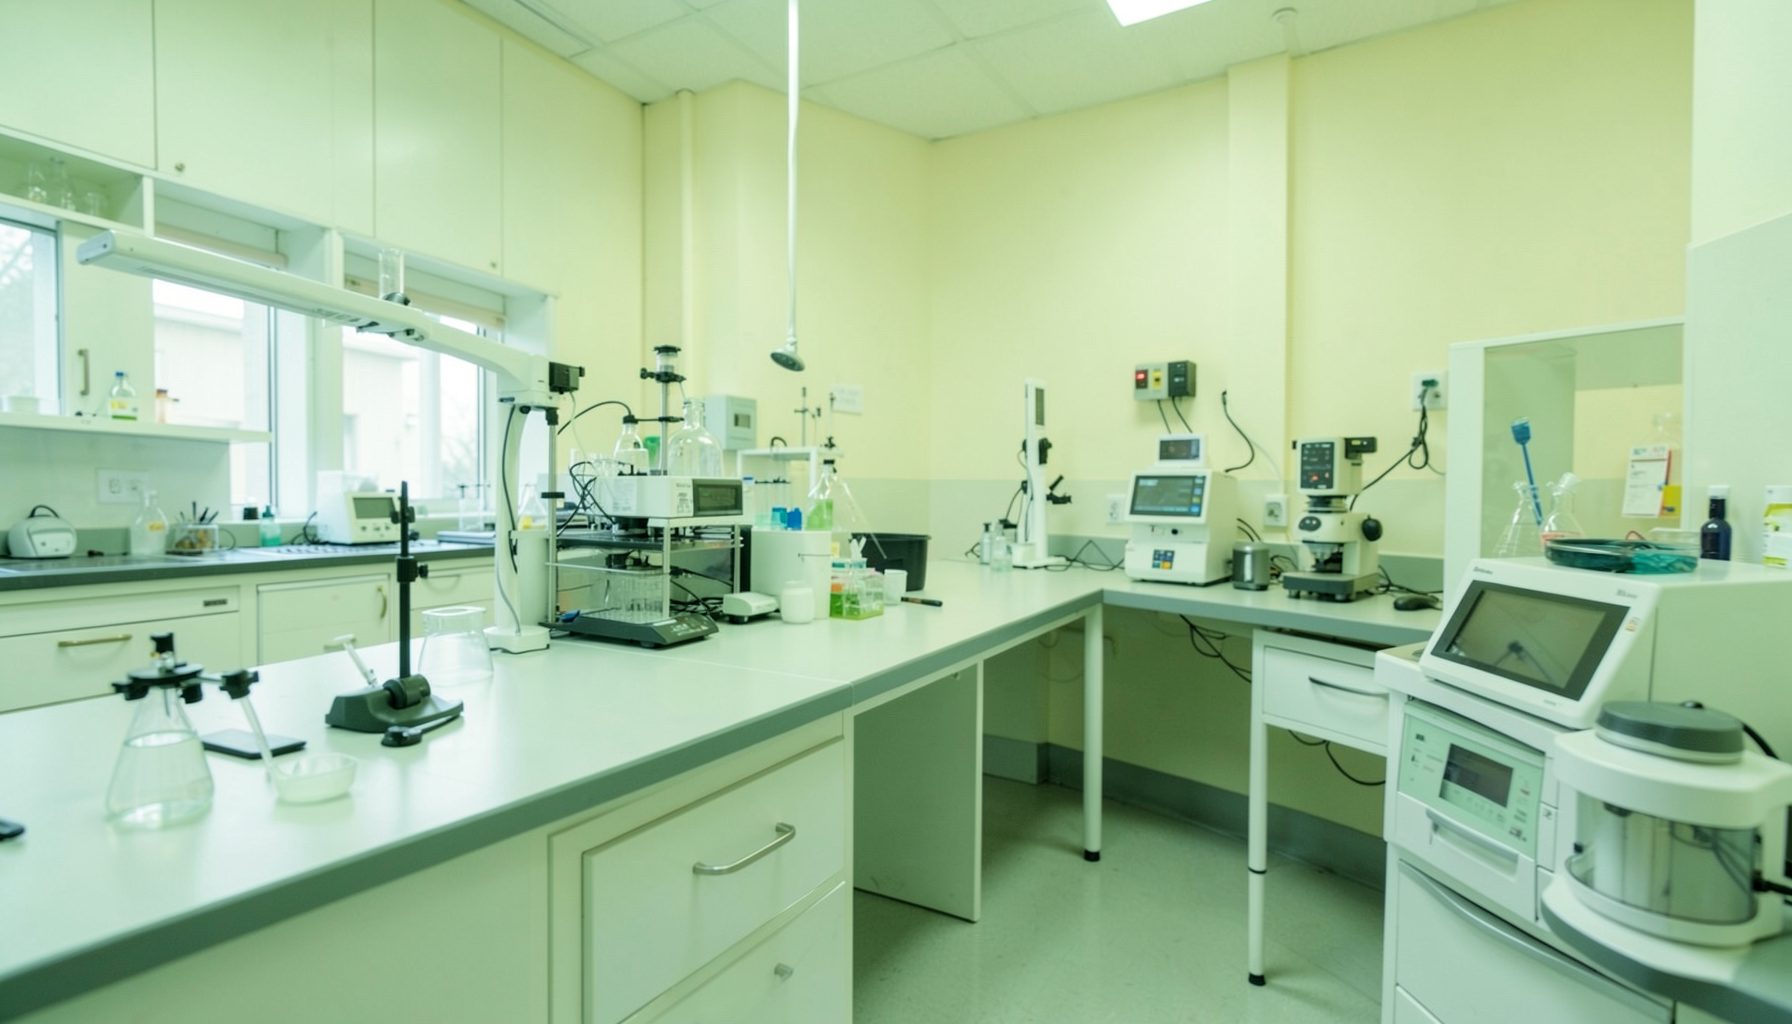
Building A Reliable TB Laboratory Start-Up And Shutdown Checklist
A daily start-up and shutdown checklist gives tuberculosis laboratories a consistent way to control hazards, protect specimens, maintain equipment and record decisions. It turns routine opening and closing activities into documented quality practices that can be reviewed during internal audits or an incident investigation.
For Australian laboratories, the checklist should fit the service’s testing menu, facility design and local procedures. A metropolitan reference laboratory in Melbourne may handle high specimen volumes and several shifts, while a regional service in Cairns or Western Australia may need clear arrangements for courier delays, limited staff coverage and scheduled maintenance. The same principles apply, but the controls must reflect actual working conditions.
Start With Risk And Workflow
Begin by mapping the working day from the first person entering the laboratory to the final authorised sign-off. Include specimen receipt, preparation, nucleic acid testing, microscopy, culture work where applicable, waste handling, cleaning and handover. A checklist should support this workflow rather than create a second, disconnected record-keeping system.
Separate tasks that are required every day from those triggered by a particular activity. For example, checking the biological safety cabinet status may be a daily requirement, while verifying centrifuge buckets may be required before a run involving infectious material. Assign each task to a role, such as scientist, laboratory assistant, senior scientist or duty manager, and specify what to do when a check fails.
The Global Laboratory Initiative Quality Tool can help position these activities within its Quality Systems Essentials. Safety, equipment, personnel, process control, documents and records, assessment and continual improvement are all relevant to a simple opening and closing routine.
Define The Start-Up Checks
The opening routine should confirm that the laboratory is safe to enter and ready to process work. Staff may check restricted access, visible spills, room pressure indicators where used, emergency equipment, hand hygiene supplies, disinfectants, waste containers and the availability of required personal protective equipment. The checklist should record exceptions, not merely provide a series of boxes to tick.
Equipment checks need to be specific. A start-up entry might cover the biological safety cabinet alarm status, certification label, airflow indicator, centrifuge condition, microscope cleanliness, refrigerator and freezer temperatures, analyser readiness and availability of backup power where relevant. Staff should know whether an out-of-range result means “do not use”, “quarantine affected material” or “contact the supervisor”.
Reagents and consumables should be checked before specimens are opened. Confirm identity, lot number, expiry date, storage temperature and minimum stock level for the day’s planned work. A clear inventory management guide can support a stronger system for stock rotation, expiry monitoring and avoiding unnecessary wastage.
Build In Specimen And Data Controls
The checklist should confirm that the laboratory information system, request forms, barcode printers and communication channels are available before testing begins. A brief review of pending specimens, urgent requests and overnight incidents helps the team identify work that requires escalation. In Australia, this may involve coordinating with public hospital microbiology departments, private pathology networks or state and territory TB services.
Specimen acceptance criteria should be visible to the staff member responsible for receipt. The routine can include checking identifiers, collection time, container integrity, request details, transport conditions and whether the specimen type is suitable for the requested assay. Rejected or compromised samples should be recorded according to the laboratory’s documented procedure, with prompt communication to the requesting service.
Data integrity belongs in the daily routine. Staff should verify that instrument interfaces are functioning, result authorisation is restricted to approved personnel and downtime forms are available. If a laboratory in Darwin, Hobart or a remote service area loses network access, a controlled paper or offline process should preserve traceability until records can be reconciled.
Compare Opening And Closing Controls
Start-up and shutdown activities have different purposes. Opening checks establish readiness before exposure to clinical material, while closing checks demonstrate that work has been safely contained, equipment has been left in an appropriate state and the next shift has reliable information.
| Control area | Daily start-up focus | Daily shutdown focus |
|---|---|---|
| Work areas | Inspect benches, cabinet status, spill controls and PPE | Disinfect work surfaces and confirm no material is left exposed |
| Equipment | Check temperatures, alarms, power and readiness | Complete approved cleaning, secure settings and record faults |
| Specimens | Review pending work and acceptance requirements | Reconcile processed, stored, referred and rejected specimens |
| Reagents | Confirm identity, expiry, storage and sufficient stock | Return materials to correct storage and isolate compromised stock |
| Records | Open worksheets, systems and quality logs | Complete entries, sign results and document incidents or deviations |
| Waste | Confirm suitable containers are available | Seal, label and transfer waste according to local procedure |
| Handover | Identify risks affecting the day’s workload | Communicate unfinished work, equipment status and urgent actions |
Keep the checklist short enough to use under normal workload, but detailed enough to support an audit. A two-stage format often works well: critical safety and readiness checks first, followed by operational checks. Any item that cannot be verified should require a comment and escalation pathway rather than a silent pass.
Specify Shutdown And Decontamination
Shutdown begins when testing is complete, not simply when the last staff member leaves. Staff should reconcile specimens and worklists, secure cultures or other retained material, close containers, remove used consumables and disinfect approved surfaces. The procedure must distinguish routine cleaning from decontamination after a spill or suspected exposure.
Equipment instructions should come from validated procedures and manufacturer guidance. Some instruments may require a maintenance cycle, while others should remain powered to protect calibration or temperature control. Refrigerators, freezers, incubators and monitoring systems need an agreed after-hours response if temperatures move outside limits.
Waste handling should be practical for the facility’s collection timetable. A laboratory in Sydney may have daily clinical waste removal, whereas a regional or remote site may hold waste for longer under controlled conditions. The checklist should identify who seals and labels containers, where they are held, and how an unresolved waste issue is escalated.
Link Each Check To Evidence
A useful checklist creates evidence that a control occurred. Each line should have space for initials or an electronic user ID, date, time where important, and a comment for exceptions. Avoid requiring duplicate entries in a paper form, instrument log and laboratory information system unless each record serves a defined purpose.
The laboratory should decide how long completed checklists are retained and who reviews them. A supervisor might scan daily records for missed temperature checks, recurring equipment faults, reagent shortages or repeated delays in specimen processing. Trends can then be raised at quality meetings and linked to corrective and preventive actions.
Digital forms may work well in larger services, but paper can be more reliable in areas with unstable connectivity. The format should be controlled, versioned and protected from unapproved editing. The GLI resource’s user instructions provide a useful reference for navigating its guidance and adapting materials to a laboratory’s quality management system.
Test The Checklist With Staff
Before approval, ask staff to use the draft checklist during a normal shift and during a realistic disruption, such as a failed temperature alarm, missing reagent or delayed courier. Observe whether the wording is clear, whether the sequence matches actual work and whether staff can identify the correct escalation contact without searching through several documents.
Consult people who use the laboratory’s outputs, including clinicians, specimen reception teams, couriers, infection prevention staff and quality managers. Australian laboratories may also need to align the checklist with NATA accreditation expectations, state or territory health requirements, workplace safety duties and local transport arrangements for infectious substances.
Training should explain the reason behind each critical check. A tick is not useful if staff do not understand why an airflow alarm, missing identifier or abnormal freezer temperature matters. New employees and relief staff should be shown the routine during induction, while experienced staff should receive updates when equipment, assays or facility procedures change.
Review Performance And Update Controls
A checklist should change when evidence shows that a control is weak or no longer relevant. Review it after a spill, near miss, failed external quality assessment, equipment replacement, assay change, significant staffing change or relocation of testing activities. Scheduled review, perhaps annually or at a frequency set by the quality system, helps prevent obsolete instructions from remaining in circulation.
Measure practical indicators rather than counting completed forms alone. Useful measures include missed start-up checks, unresolved shutdown exceptions, temperature excursions, specimen identification incidents, expired reagent disposal and time taken to complete handover. The results should guide focused action, such as revising a form, changing storage locations or arranging refresher training.
Keep the final document accessible at the point of use. A laminated quick-reference sheet may suit a controlled entry area, while detailed escalation instructions can sit in the quality management system. The approved version should show its document number, effective date and owner, with old versions removed from benches and shared drives.
A well-designed checklist makes safe practice visible at the beginning and end of every shift. Draft the routine around your laboratory’s real workflow, validate it with staff, connect every exception to an authorised response and review the records for patterns. Download the relevant GLI materials, adapt the checks to your Australian service and put the approved version into supervised daily use.