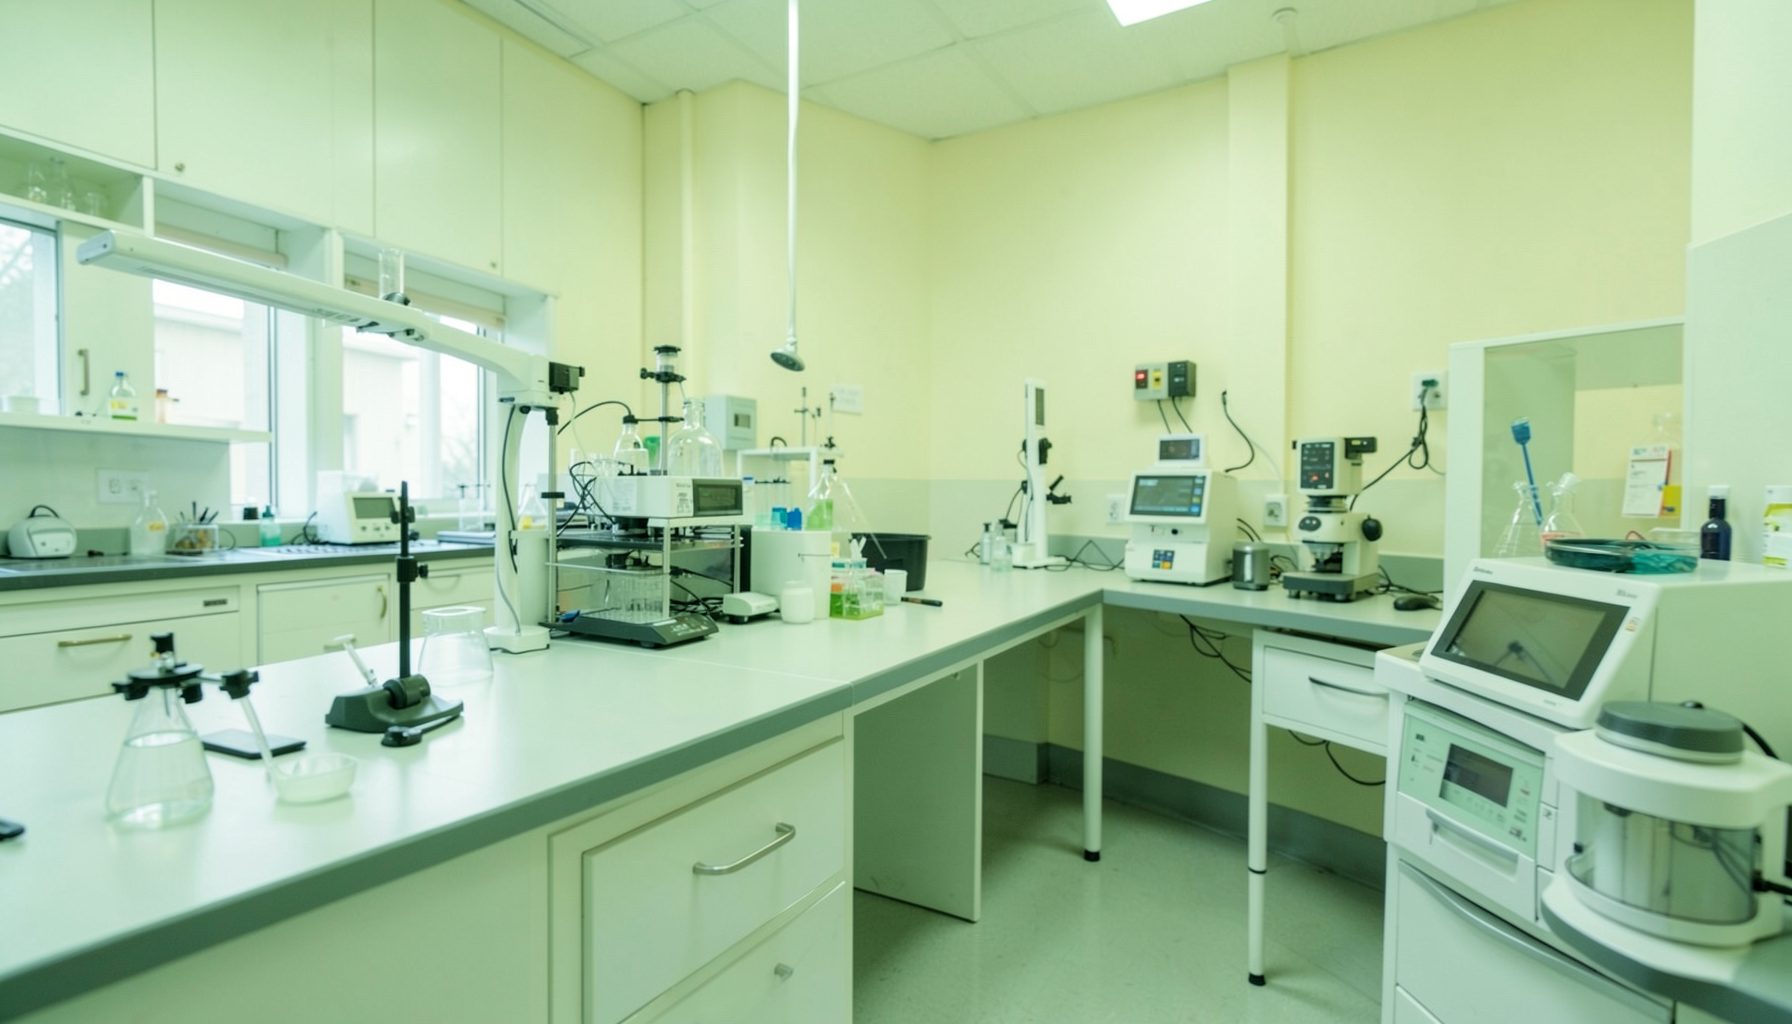
Designing a TB laboratory floor plan for safer, clearer workflows
A well-designed tuberculosis laboratory floor plan makes each step of testing visible, controlled and repeatable. Specimens should move from receipt to processing, testing, storage and disposal without crossing paths with clean materials, staff breaks or completed work. The layout is therefore a quality management control, not simply an architectural drawing.
The most effective design begins with the work itself. Map the movement of specimens, people, equipment, paperwork, waste and information before deciding where benches or instruments will go. A small laboratory may use clearly marked zones within one room, while a larger service may need separate rooms with controlled access and dedicated ventilation.
For Australian laboratories, the plan should fit local accreditation and public health arrangements as well as practical conditions. A metropolitan service in Melbourne or Sydney may connect to a specialised reference laboratory, whereas a facility in Darwin, regional Queensland or remote Western Australia may manage longer transport times, fewer staff and limited backup equipment. The design must support safe work in both settings.
Start with the specimen journey
Draw the complete specimen pathway from arrival at the loading dock or reception desk. Include registration, labelling, triage, decontamination, testing, incubation, reading, result verification, storage and waste removal. Use arrows to show direction, and mark every point where a specimen could be delayed, mixed up or exposed to the wrong environment.
A practical arrangement usually places specimen reception near the entry, followed by a controlled preparation area. Testing zones should then progress towards culture, molecular work, microscopy or other examination areas, with final storage and waste handling positioned so that contaminated materials do not return through clean spaces.
The exact sequence depends on the laboratory’s test menu. A service performing smear microscopy, molecular testing and solid culture will have different space requirements from a small facility that receives specimens, performs rapid testing and sends cultures to a reference centre. Design the room around actual throughput, peak workloads and future changes rather than an idealised process.
Include people and supplies in the same map. Staff need a safe route to handwashing facilities, personal protective equipment, documentation stations and emergency exits. Clean media, reagents and consumables require protected storage, while used materials need a direct route to decontamination or disposal. A floor plan that works only for specimens will fail during a busy shift.
Separate clean, dirty and controlled zones
Use zoning to distinguish activities with different contamination risks. A clean zone may include offices, records, unopened supplies and equipment maintenance materials. A controlled testing zone can contain specimen preparation and analytical work. A dirty or decontamination zone should contain waste handling, cleaning activities and equipment used for contaminated materials.
Physical walls are useful, but they are not the only option. In a constrained facility, separation may be achieved with fixed benches, screens, access controls, floor markings, dedicated equipment and clearly labelled storage. However, staff should not need to carry open specimens across a clean area simply because the room is too small. If the workflow cannot be separated safely, the process or service scope may need to change.
Airflow and containment deserve early attention. Activities that may generate aerosols should occur in appropriate containment equipment and in a location that does not compromise adjacent work. Place biological safety cabinets away from doors, busy walkways, fans and supply vents where practicable. Confirm the proposed arrangement with the relevant biosafety, engineering and facilities specialists rather than relying on a diagram alone.
Australian facilities should check their design against applicable laboratory safety requirements, including local work health and safety obligations and relevant AS/NZS guidance. A laboratory in a leased health service building may have little control over ventilation or plumbing, so these constraints should be recorded during the initial assessment instead of discovered after installation.
Allocate equipment and storage intelligently
List every item that needs floor, bench, wall or ceiling space. Include biological safety cabinets, centrifuges, incubators, microscopes, refrigerators, freezers, autoclaves, sinks, handwash basins, computers and backup power equipment. Record the clearance, electrical load, temperature range, ventilation, vibration and maintenance access required for each item.
Place equipment according to workflow and risk. A centrifuge should be close enough to the relevant preparation work to avoid carrying open tubes through the laboratory. Incubators should be accessible for scheduled observations without forcing staff to enter unrelated zones. Refrigerated storage should be organised so that patient specimens, reagents, controls and retained materials are clearly separated and traceable.
Storage is often underestimated. Allow space for incoming supplies, quarantine items, opened stock, expired materials, records and cleaning products. Shelving should permit stock rotation and cleaning, while heavy containers should be stored at safe heights. In Australia, long supply chains to remote services can encourage over-ordering; the layout should support sensible buffer stock without turning corridors into warehouses.
A media preparation area also needs careful planning. If the laboratory uses Lowenstein–Jensen or another solid culture medium, staff need a controlled place for preparation, checking, storage and documented release. Clear instructions and competency records should accompany the physical arrangement; guidance on training staff can help connect the layout with reliable practice.
Build safety and quality into the plan
A floor plan should make the correct action the easiest action. Position handwashing stations near exits from testing and decontamination zones. Place spill kits, fire equipment, eyewash facilities and emergency contact information where staff can reach them without entering a restricted area. Keep exits, electrical panels and service access points unobstructed.
Use visual controls consistently. Colour-coded zones, directional arrows, equipment identifiers and status labels can reduce errors, particularly when temporary, rotating or visiting staff join the team. Labels should be durable, readable and consistent with procedures. Avoid relying on colour alone because staff may work in poor lighting or have colour-vision limitations.
Connect the layout to the Quality Systems Essentials used by the GLI Quality Tool. Facilities and safety, equipment, personnel, documents and records, process control, assessment and continual improvement all influence the design. A change to the floor plan may require revised procedures, staff training, equipment qualification, risk assessment, cleaning schedules and internal audit checks.
Test the proposed design before committing funds. Walk through a simulated positive specimen, an urgent result, a spill, a power failure, a staff injury and a waste collection. Time how far specimens and staff must travel. Ask whether a person can complete the work while wearing the required personal protective equipment and whether another person can pass safely without interrupting a containment activity.
Plan for capacity, costs and change
Calculate expected workload by day, week and seasonal peak. Consider batching, courier arrivals, referral testing and the time required for culture observation. A TB laboratory may have relatively low routine volume but still need capacity for an outbreak investigation or a sudden increase in referrals. In regional Australia, a delayed courier from a distant community can also create a concentrated workload when multiple packages arrive together.
Measure costs by process, not just by room. Include construction, ventilation, utilities, calibration, preventive maintenance, consumables, waste treatment, cleaning and staff time. A simplified cost accounting method can help compare options such as expanding an existing room, adding a dedicated testing area or referring part of the service to another laboratory.
Design for maintenance and continuity. Equipment should be removable without dismantling benches or passing through offices. Provide enough outlets and data connections for approved future instruments, while avoiding unnecessary clutter. Identify what happens if an incubator fails, a biological safety cabinet is unavailable or the building loses power. Backup arrangements may involve another laboratory within a state network, a reference service in a capital city or a documented referral pathway.
Treat the plan as a controlled document. Keep the approved drawing, room-use descriptions, equipment register, risk assessment and change history together. Review the arrangement after incidents, audits, new tests, renovations or changes in staffing. A small laboratory can update the plan during regular quality meetings; a larger service may include it in facilities and biosafety review cycles.
The GLI Quality Tool’s phased approach can support this work by helping a laboratory move from an initial assessment to defined processes, implementation and continual improvement. Checklists can be used to identify missing controls, assign responsibilities and record evidence that the new layout performs as intended.
A sound floor plan should now be tested against real work: walk each specimen route, verify each controlled boundary, confirm emergency access and document the decision. Use the result to brief staff, update procedures and schedule a follow-up review after the area has been operating for several weeks. Clear zones, sensible movement and maintained controls will give the laboratory a safer foundation for dependable TB diagnosis.