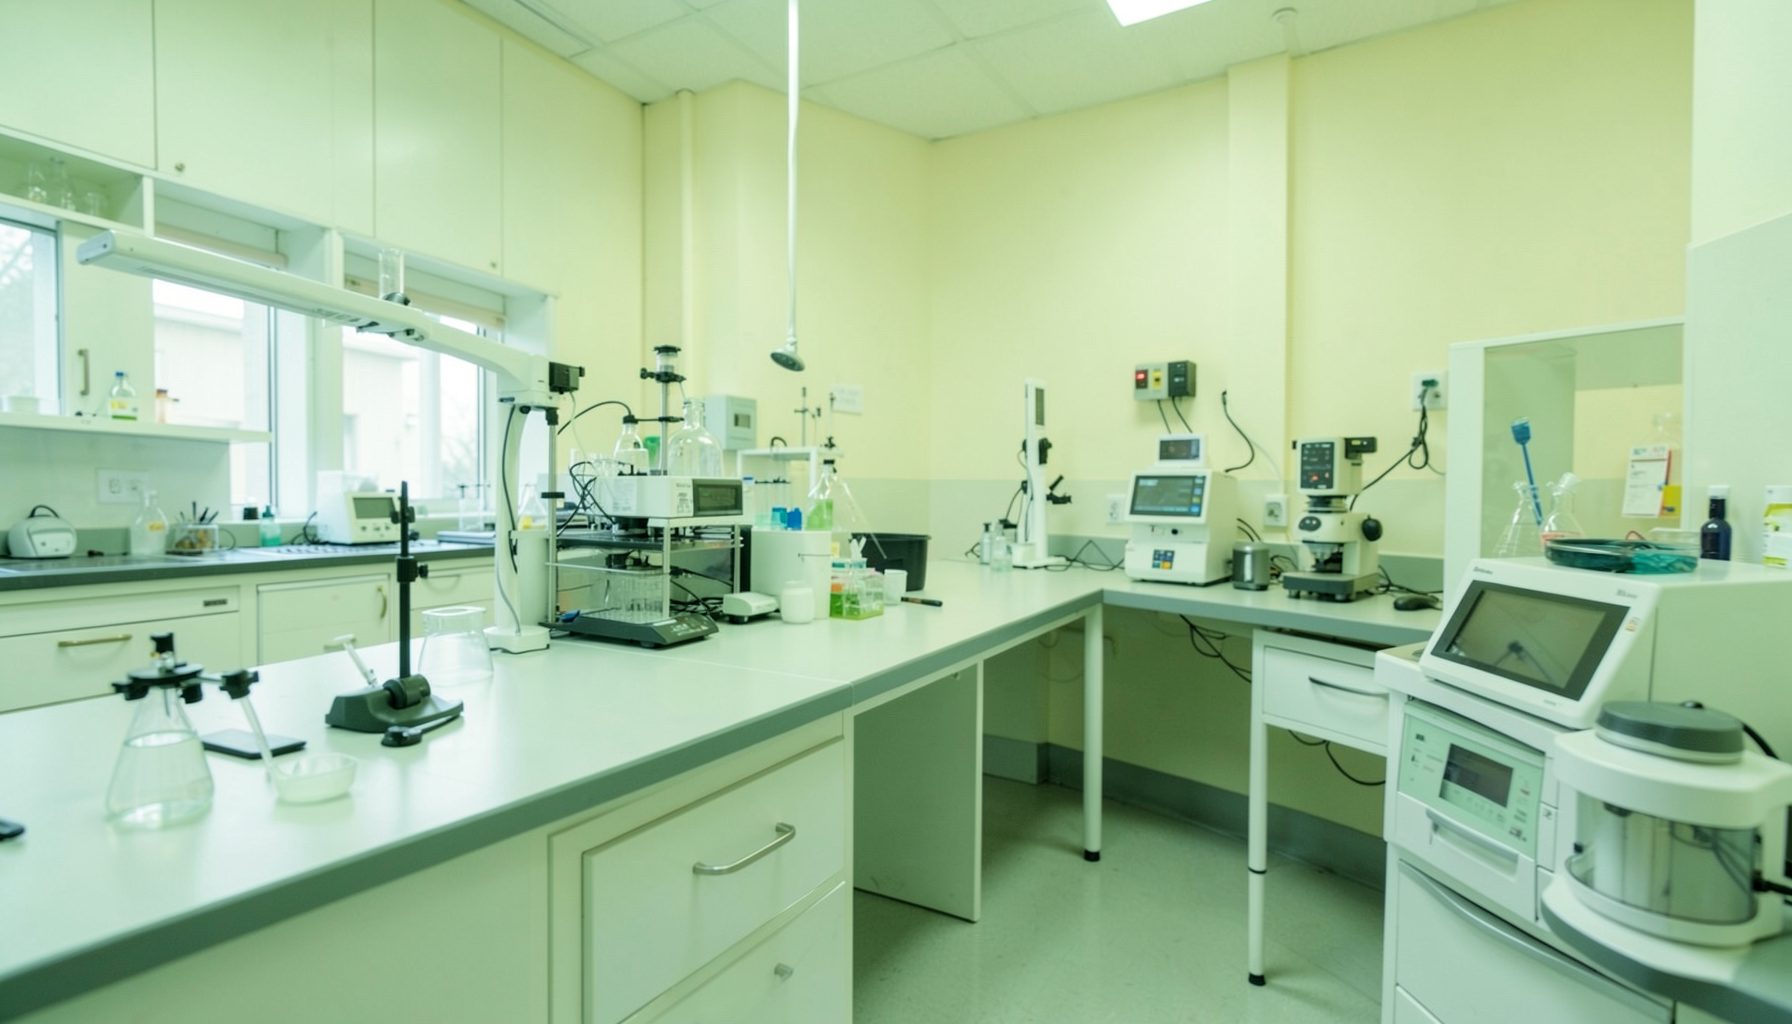
Daily maintenance checks for TB biosafety cabinets and centrifuges
A tuberculosis (TB) laboratory relies on correctly functioning equipment to protect staff, specimens, and the community. A daily maintenance checklist for biosafety cabinets and centrifuges turns routine inspection into a documented control. It helps operators notice a failed airflow indicator, a contaminated work surface, a damaged rotor seal, or an unbalanced load before these problems affect laboratory work.
The form should support three decisions: whether the equipment is fit for use, whether cleaning and disinfection were completed, and who must act when a defect appears. A useful record is concise enough for every shift, specific enough to guide action, and linked to the laboratory’s risk assessment, manufacturer instructions, and quality management system.
Adapt the checklist to Australian conditions rather than copying a generic form. Staffing, engineering support, and waste services may differ between a large public-health laboratory in Melbourne, a hospital network in Sydney, and a regional laboratory near Brisbane. Importing TB reference cultures may require Australian Customs biosecurity permissions through BICON. For disinfectants regulated as therapeutic goods, check the Australian Register of Therapeutic Goods listing for the exact product and intended use.
Purpose and control of routine equipment checks
Equipment checks are most effective when they form part of routine quality assurance rather than a separate paperwork exercise. The GLI Quality Tool’s phase-specific checklists provide a useful reference for matching local equipment forms with the wider roadmap for laboratory quality systems.
That four-phase roadmap draws on twelve Quality Systems Essentials, including safety, personnel, equipment, documentation, assessment, and continual improvement. For each instrument, the local form should identify the required pre-use checks, cleaning method, acceptance criteria, responsible role, and response to a failed check. A general line such as “equipment okay” provides too little information for trend review or corrective action.
Follow the manufacturer’s instructions and the site’s risk assessment when setting limits. Scheduled servicing, calibration, cabinet certification, and detailed decontamination remain necessary even when daily records are complete. Keep certification, calibration, and service dates on the equipment record so gaps remain visible.
Before-use biosafety cabinet checks
Before starting work, inspect the external cabinet surfaces, work zone, front grille, sash, and interior for damage, contamination, clutter, or blocked vents. Confirm that the cabinet is labelled, the service record is current, and the work area is clear. Keep documents and unnecessary equipment outside the cabinet so that work remains orderly and contamination is easier to detect.
For a Class II biosafety cabinet, check the airflow indicator against the manufacturer’s specified operating range and confirm that any alarm is resolved before use. For a Class III cabinet, follow the site’s status indicators and exhaust checks. A UV lamp, if fitted, is an additional control and cannot replace cleaning, correct airflow, or appropriate personal protective equipment.
Set the sash at the working height stated in the manual and avoid reaching over the front grille. Work from the clean to the dirty direction, keep containers closed where practical, and do not store equipment in the work zone. Any spill, abnormal airflow reading, damaged sash, or failed alarm means the cabinet is not ready for routine diagnostic work.
Centrifuge checks before operation
Inspect the centrifuge before each use. Look for cracks, corrosion, loose fittings, damaged rotor seals, and contamination in the chamber or rotor. Confirm that the correct rotor is fitted and seated, the lid and safety interlock work, and tubes or buckets are securely closed. Use sealed tubes and suitable aerosol-tight rotors when the risk assessment requires them.
Load the rotor according to the manufacturer’s instructions. Check that the sample tubes are balanced and that the rotor can rotate freely; never defeat the interlock or balance tubes by guesswork. For swing-bucket models, inspect the bucket seats and locking mechanism. When potentially infectious material must be centrifuged, follow the validated inactivation and containment procedure specified in the risk assessment. Keep the centrifuge outside the biosafety cabinet, because open or improperly contained centrifuges can generate aerosols that the cabinet may not capture.
Stop the run if abnormal vibration, noise, or imbalance occurs, and do not open the lid until the rotor has stopped completely. If contamination is suspected, follow the approved cleaning and spill procedure, including any manufacturer-specified settling time, before accessing the rotor. Operationally, the clear job descriptions available through the GLI Quality Tool can state who may operate, clean, inspect, and service the instrument.
Cleaning, disinfection, and waste
Cleaning is a daily task with defined endpoints. Wipe the cabinet work surface and accessible internal surfaces with a manufacturer-compatible disinfectant, observing its contact time and any rinse requirement. A commonly used choice is 70% alcohol or an appropriate chlorine-based product, provided it is compatible with the equipment and approved for the laboratory’s use. Do not spray directly into vents or saturate electrical components.
Apply the centrifuge’s validated cleaning method to the bowl, lid seal, accessible rotor surfaces, and removable buckets. Allow parts to dry, remove residue, and store the instrument in the manufacturer-specified condition. Keep specimens, waste, and personal items out of the chamber. Any suspected infectious spill requires the laboratory’s trained spill-response procedure, appropriate PPE, and chemical safety information.
Handle contaminated disposables and liquids through the approved waste stream, with sealed containers and no re-entry into clean storage. Never mix chlorine-based disinfectants with acids, ammonia, or other incompatible cleaners. Keep cleaning records outside the cabinet so that paper does not become an additional contamination source.
Checklist design, records, and accountability
Design a short, equipment-specific form that takes no more than a few minutes for routine checks. Include instrument identifiers, date, shift, operator, acceptance criteria, readings where relevant, cleaning confirmation, defects, corrective action, and sign-off. Separate daily tasks from periodic maintenance, and assign a clear owner for each task.
The first list should cover readiness before work:
- Biosafety cabinet: airflow or status indicator normal; sash, grille, work zone, and alarm condition recorded.
- Centrifuge: rotor, lid, interlock, balance, seals, and loading condition confirmed before operation.
- Stop-work triggers: abnormal vibration, contamination, damaged components, or failed indicators prompt isolation and escalation.
The second list should confirm cleaning and closure:
- Work surfaces: cabinet disinfected at the approved concentration and contact time; spills and waste removed.
- Centrifuge chamber: bowl, seal, rotor, and buckets cleaned, dried, and returned to the specified storage condition.
- Documentation: readings, exceptions, corrective actions, and operator initials entered without recording patient identifiers.
- Equipment status: any failed check labelled out of service until authorised clearance is recorded.
Store completed forms in the laboratory’s document-control system, with controlled versions, access to relevant staff, and a process for reviewing recurring failures. The GLI Quality Tool’s continual improvement guidance can support periodic review of trends, root causes, corrective actions, and changes to the form. Review access and backup arrangements so a network outage does not prevent urgent reporting or sign-off.
Turn the checklist into daily practice
Move from drafting to implementation by piloting the checklist with the operators who will actually use it. Confirm that each acceptance criterion is visible beside the instrument, every required cleaning material is available, and the escalation route reaches a supervisor or biosafety officer promptly. Keep a small supply of the approved form at each workstation and train staff before the record becomes mandatory.
Begin the next shift with the approved checklist beside each cabinet and centrifuge. Require a recorded decision that the equipment is fit for use, and require any failed check to be isolated, reported, and tracked to closure. A maintained instrument is then not merely monitored: it is demonstrably controlled within the laboratory’s quality management system.