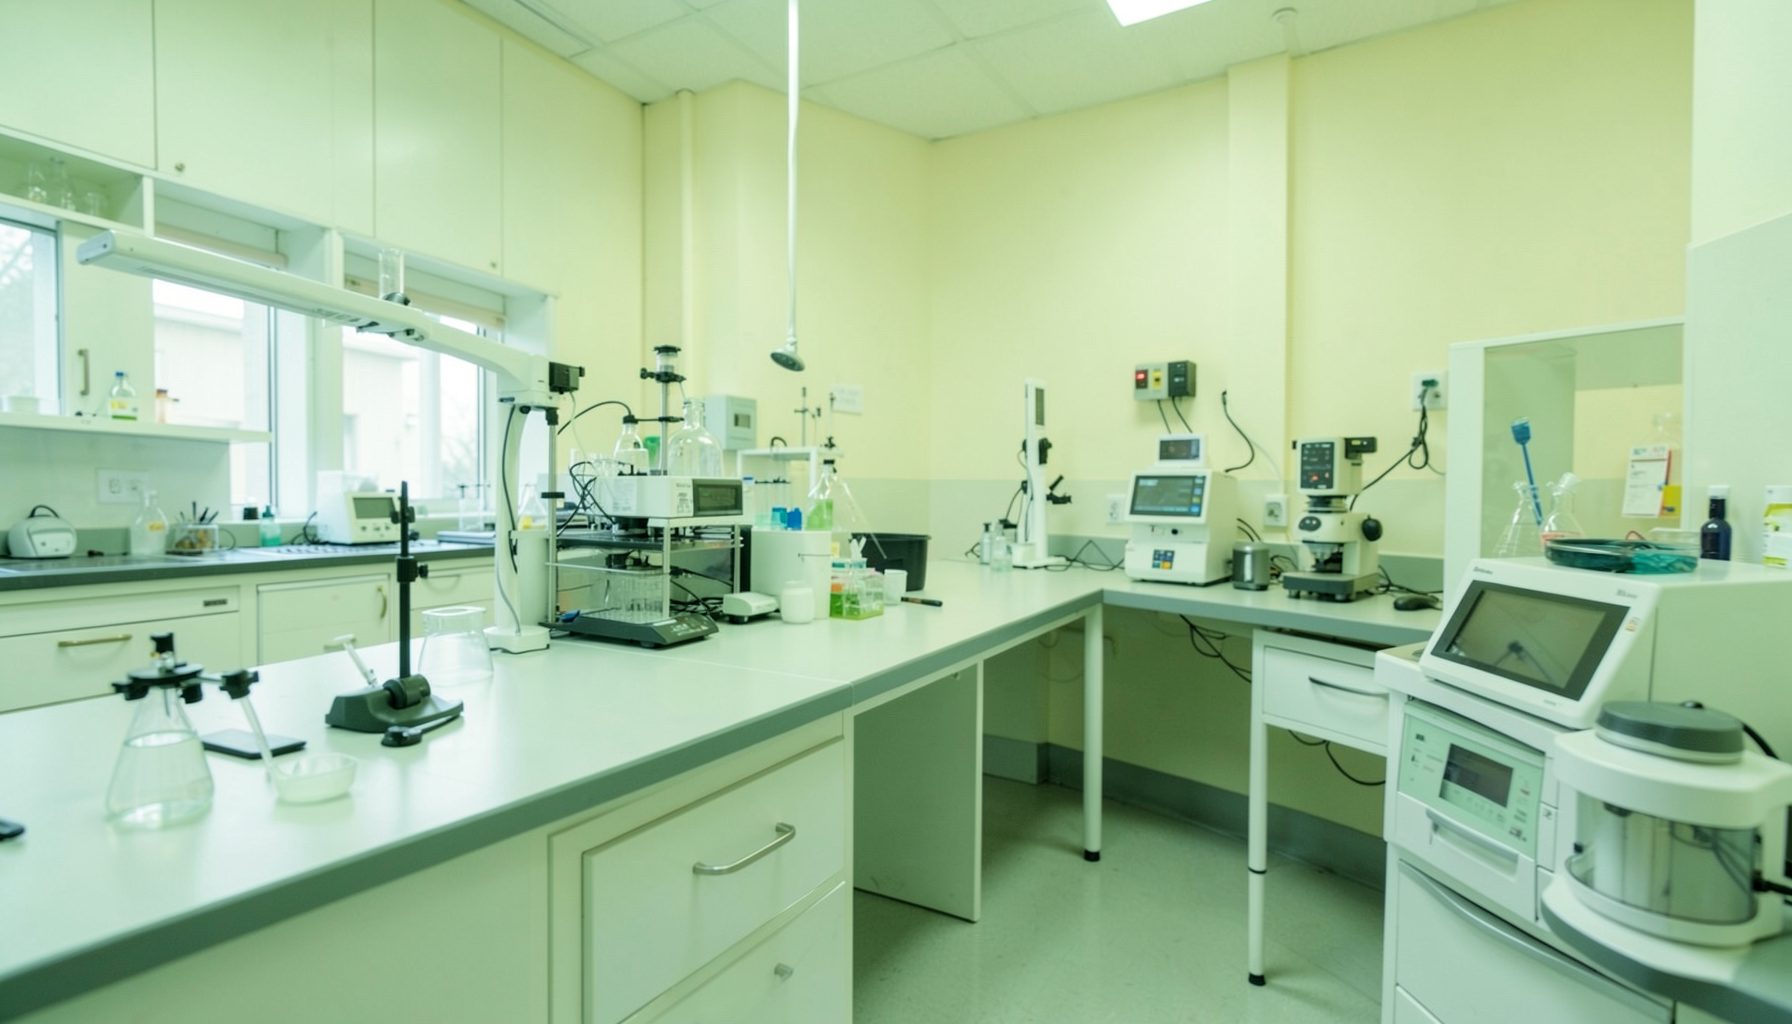
How to Calibrate TB Lab pH Meters for Culture Media
Accurate pH measurement is essential when preparing culture media for tuberculosis testing. The pH affects nutrient availability, indicator performance, contamination control, and the ability of mycobacteria to grow as expected. A small measurement error can therefore contribute to poor recovery, inconsistent results, or unnecessary investigation of apparently failed cultures.
How to calibrate TB lab pH meters used in culture media preparation should be defined in a controlled procedure rather than left to individual preference. The procedure needs to specify the meter, electrode, buffers, temperature conditions, acceptance criteria, calibration frequency, documentation, and actions required when a result is outside limits.
The approach should fit the laboratory’s equipment and resource setting while preserving traceability. A basic meter can produce dependable results when staff use suitable reference buffers, maintain the electrode correctly, and verify performance before relying on the reading for a batch of culture medium.
Why pH Control Matters In TB Media
Culture media preparation involves several variables, including water quality, ingredients, sterilization, cooling, and final dispensing. The pH should be measured at the point specified by the medium manufacturer or validated laboratory procedure because heating and sterilization can alter the final value. Measuring only the ingredients before processing may give a misleading result.
Different media have different target ranges. Lowenstein–Jensen, Middlebrook, and other formulations should therefore never be assigned one universal pH target. The laboratory’s standard operating procedure should state the acceptable range for each medium, the temperature at which the reading is taken, and whether adjustment is permitted before or after sterilization.
A calibrated meter supports the Quality Systems Essentials related to equipment, process control, documentation, assessment, and continual improvement. It also gives the laboratory defensible evidence when investigating an unusual contamination rate, weak growth, altered colony appearance, or a failed quality-control batch.
Prepare The Meter, Electrode, And Buffers
Before calibration, inspect the pH meter, cable, electrode bulb, reference junction, and display. Confirm that the instrument is within its service or calibration interval, the electrode has not dried out, and the cable connections are secure. Clean the electrode according to the manufacturer’s instructions, using a method suitable for residues from culture media.
Use certified, traceable buffer solutions that bracket the expected measurement range. For most media work, pH 7.00 is used as the central point, with pH 4.01 or pH 10.01 as an additional point depending on the expected sample range. A three-point calibration may be appropriate when the laboratory measures across a broad range, but the selected points should match the procedure and instrument capability.
Buffers must be fresh, clearly labeled, and stored as directed. Pour a small working volume into clean containers rather than placing the electrode into the original bottle. Never return used buffer to its container. Record the buffer lot numbers, expiration dates, nominal values, and temperature information when required by the manufacturer.
Temperature matters because buffer pH changes with temperature, and the response of the glass electrode also varies. Automatic temperature compensation does not correct every source of error; it mainly adjusts the expected buffer or sample response. The meter’s temperature probe must be connected and working, or the operator must use the appropriate temperature-specific values.
Perform A Reliable Two Or Three Point Calibration
Allow the meter and buffers to reach a stable temperature before starting. Rinse the electrode with purified or distilled water, then gently blot it with lint-free tissue. Do not rub the glass bulb, because static charge and mechanical damage can affect the reading.
Begin with the neutral buffer if that is the instrument manufacturer’s recommended sequence. Immerse the sensing bulb and reference junction fully, remove trapped air bubbles, and stir gently or use the meter’s specified mixing method. Wait for the reading to stabilize, then accept the point. Rinse and blot the electrode before moving to the next buffer.
The meter should display the calibration slope or an equivalent performance indicator. Acceptance limits must come from the instrument instructions or the laboratory’s validated procedure. As a common control range, many laboratories use a slope around 95–105 percent, but this should not replace the manufacturer’s specifications. An excessive offset, unstable reading, or failed calibration requires investigation before the meter is used.
| Calibration element | Recommended control | Response when unacceptable |
|---|---|---|
| Buffer identity | Certified buffer appropriate to the measuring range | Discard questionable buffer and repeat with a new portion |
| Buffer condition | Within expiry, uncontaminated, correctly stored | Replace buffer and document the issue |
| Temperature | Stable and measured with a functioning probe | Allow equilibration or repair the temperature system |
| Calibration points | At least two points bracketing the expected sample range | Select suitable points and repeat calibration |
| Electrode response | Stable reading within the defined time | Clean, condition, inspect, or replace electrode |
| Slope and offset | Within manufacturer or laboratory limits | Do not release results until resolved |
| Post-calibration check | Independent check buffer or control within limits | Invalidate the calibration and investigate |
A calibration that repeatedly fails may indicate an exhausted electrode, clogged reference junction, contaminated buffer, poor electrical connection, or unsuitable storage. Repeating the same procedure without identifying the cause can create a false sense of control.
Measure Culture Media At The Correct Stage
After calibration, rinse the electrode and measure a representative portion of the prepared medium. Do not place a dirty electrode directly into the bulk container if doing so could contaminate the batch. Use a clean vessel and follow the laboratory’s aseptic practice, especially when the medium has not yet been sterilized.
The measurement temperature must match the validated procedure. A hot medium can damage the electrode and produce a shifting reading. If the procedure requires measurement after cooling, allow the medium to reach the defined temperature before testing. Record the actual temperature when it is relevant to interpretation.
If the pH is outside the approved range, do not make an undocumented adjustment. First check the meter with a suitable verification buffer, confirm the medium identity and preparation calculations, and review the water, ingredients, heating, and sterilization steps. Any permitted adjustment should use the reagent, concentration, volume limits, and mixing time defined in the SOP.
A pH result outside the target range may require rejection of the batch, repeat preparation, or documented corrective action. The decision should be based on validated acceptance criteria rather than on whether the reading appears visually plausible.
Document Calibration And Equipment Status
A complete record links the pH result to the instrument, electrode, buffers, operator, medium batch, and date. Electronic records or paper forms are both acceptable when they are legible, protected from unauthorized changes, and retained for the period defined by the quality system.
Calibration records should include:
Practical Controls To Keep In Place
- Assign a unique identification number to each meter and electrode, and display its current status.
- Define calibration frequency using risk, usage, manufacturer instructions, and performance history.
- Use independent verification buffers at a defined frequency, especially after maintenance or long periods of storage.
- Train staff to recognize unstable readings, damaged bulbs, dried electrodes, and contaminated buffers.
- Trend failed calibrations, out-of-range media pH, repeat preparations, and related quality-control findings.
The record should also show the calibration points, observed values, slope or offset where available, acceptance decision, and action taken for any failure. A simple signature alone does not demonstrate that the instrument was suitable for use.
Equipment maintenance is part of calibration control. Store the electrode in the manufacturer-recommended solution, never in pure water unless specifically allowed, and keep the cap fitted when the meter is not in use. Periodic cleaning and replacement schedules should be defined in the equipment file.
Link pH Monitoring To Wider Laboratory Quality
The pH meter should be considered within the whole media preparation process. Water purification, refrigerator conditions, incubator performance, autoclave cycles, and storage temperatures can all influence the quality of culture media. A well-calibrated instrument cannot compensate for a poorly controlled preparation or storage step.
For laboratories storing ingredients, prepared media, or control materials, temperature monitoring guidance can help connect pH control with temperature records, alarm response, and equipment review. These controls make it easier to determine whether a questionable batch resulted from measurement, preparation, or storage.
The laboratory should also review the pH procedure whenever a formulation, reagent, meter, electrode, supplier, or sterilization process changes. Changes should be assessed before implementation, with updated instructions, staff training, verification, and approval. The guidance on protocol change controls provides a useful quality-management framework for this process.
Internal audits and supervisory reviews can examine whether staff use the correct buffers, record temperature, meet calibration acceptance limits, and respond appropriately to failures. Trends should be discussed during quality meetings, with corrective actions assigned and checked for effectiveness.
A dependable pH measurement system combines a suitable instrument, a maintained electrode, traceable buffers, controlled temperature, validated media specifications, and complete records. Laboratories can use this practical process to make pH testing consistent across staff and shifts while strengthening the wider quality management system.
Apply the procedure to one meter and one medium batch, review the records against the laboratory’s SOP, and close any gaps before routine use. The GLI Quality Tool can support this work with phase-specific checklists and practical materials for equipment control, documentation, assessment, and continual improvement.