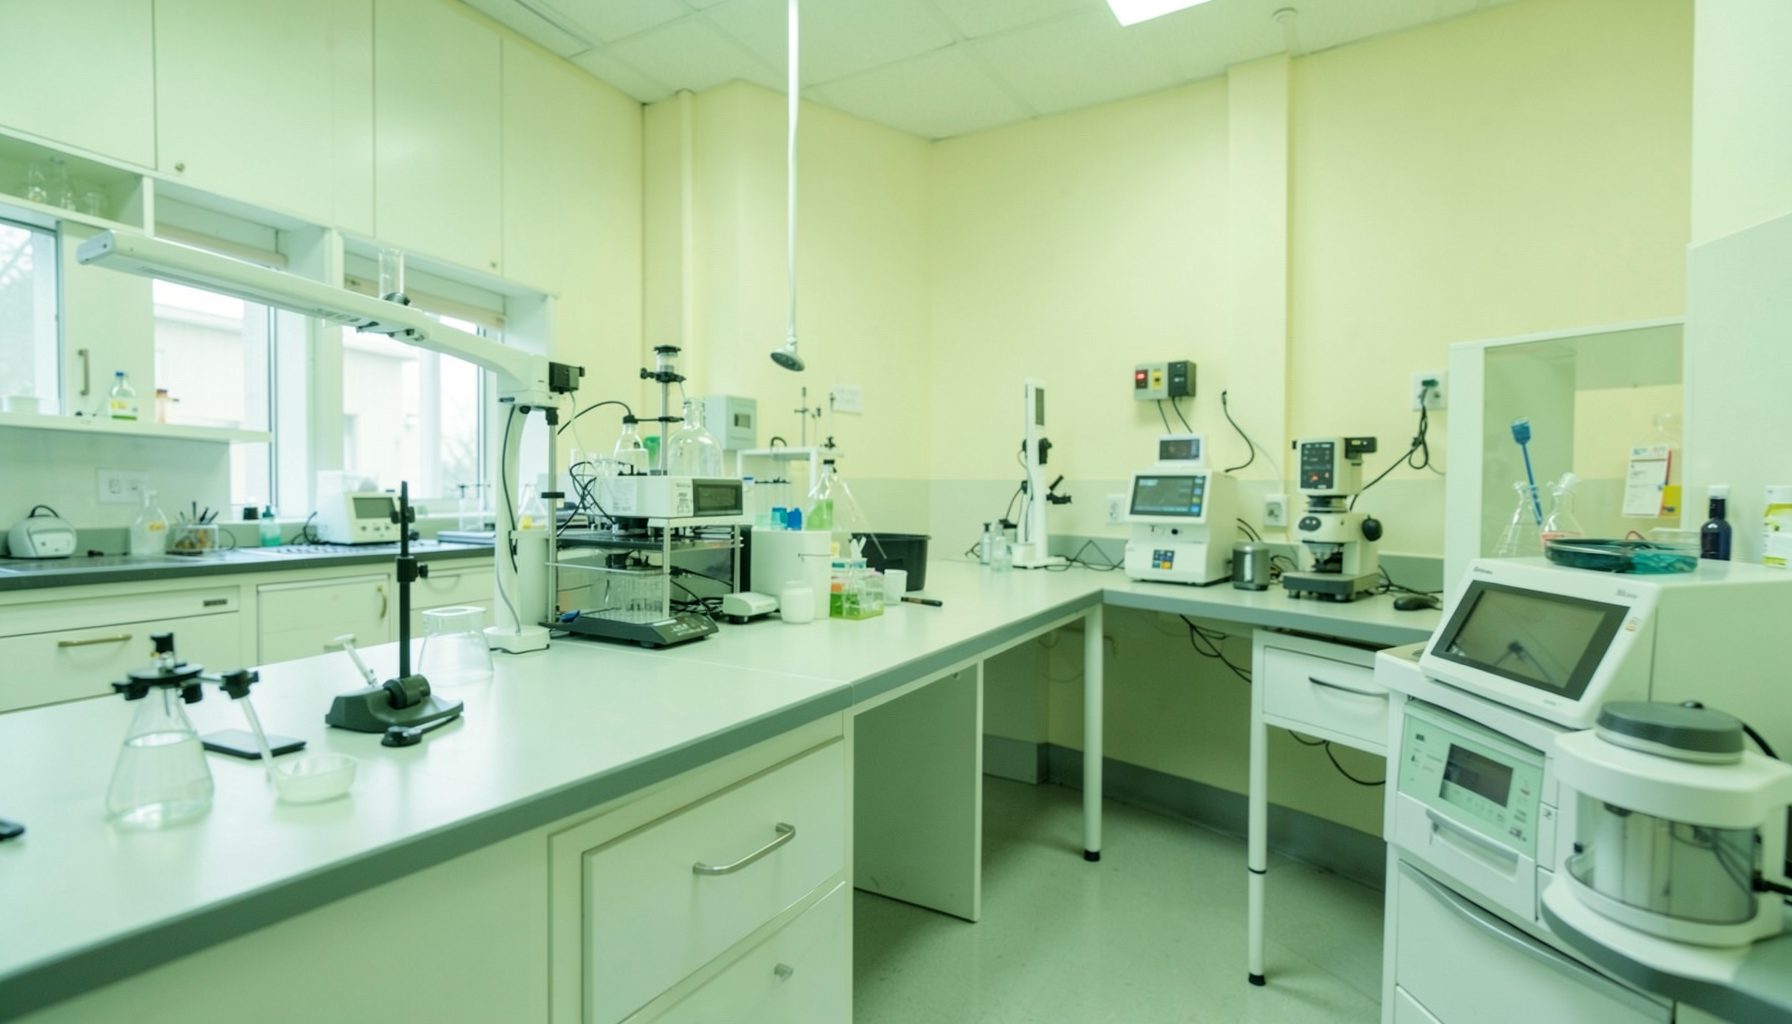
Building an In-House Sterility Check Procedure for TB Culture Media
Every tuberculosis laboratory eventually faces the quiet question of whether the culture media it prepares is genuinely free from contamination before patient specimens touch the surface. Contaminated slopes, broths, and the specialised solid media used for Mycobacterium tuberculosis work are expensive, time-consuming to replace, and—when undetected—can quietly erode the diagnostic accuracy of an entire workload. An internal sterility check routine, written down as a formal laboratory procedure, transforms a habit into a controlled process that supervisors, auditors, and accrediting bodies can recognise and trust.
For Australian TB laboratories, the practical motivation is sharper than in many other regions because specimens often travel long distances from remote clinics to a small number of reference centres. A contaminated batch discovered only when a clinical isolate is finally cultured wastes the entire upstream effort, and at a population level, it can blur the distinction between a true positive and an environmental contaminant. The Royal College of Pathologists of Australasia, working alongside the National Association of Testing Authorities, expects laboratories to demonstrate that they verify what they make, not just what they receive.
The good news is that building a robust procedure is not technically demanding. It needs careful thought about sampling points, temperature, duration, and the way results are recorded. With a clear template and a few well-chosen controls, even a small regional TB laboratory in places such as Cairns, Townsville, or Broome can run a meaningful sterility programme without needing a specialist microbiologist on site.
Most laboratories already know the principle: incubate a sample of freshly prepared media, watch for growth, and reject the lot if anything appears. The art lies in the details—how much media to sample, which bottles to test, how long to incubate, and how to document the negative result so that the evidence survives an external audit. The sections that follow walk through each layer of that detail.
Why In-House Sterility Testing Matters for TB Culture Work
Contamination in TB culture media is not a cosmetic problem. Acid-fast bacilli grow slowly, so any bacterial or fungal contaminant that gets a head start on the slope can overgrow the mycobacterial colony before it ever becomes visible. By the time the technologist notices fuzzy bacterial growth at week three, the M. tuberculosis colony of interest has usually been masked, and the specimen must be recalled, decontaminated again, and re-inoculated. The clinical impact is felt by the patient, who waits another four to six weeks for a meaningful result, and by the laboratory, which loses capacity on the front bench.
Sterility checking is also the most efficient way to catch systematic problems in media preparation. A single cracked bottle during autoclaving, a moment of inattention during aseptic dispensing, or a poorly validated batch of commercial supplements can each contaminate an entire run. Without an internal sterility test, those failures are usually blamed on the specimen. With a routine in place, the laboratory can trace the fault back to its source, correct the supplier, retrain the operator, or replace the autoclave cycle long before patient results are questioned.
Australian laboratories that participate in the RCPA Quality Assurance program will also find that external proficiency surveys increasingly expect to see evidence of internal quality control of prepared media. A written sterility procedure is one of the simplest ways to satisfy that expectation.
Regulatory and Accreditation Context in Australia
Australian TB laboratories operate within a layered framework of national and international standards. The National Association of Testing Authorities accredits facilities against ISO 15189, while the Royal College of Pathologists of Australasia administers the specialist quality assurance programmes for mycobacteriology. Both bodies expect laboratories to demonstrate control over every step of the analytical path, including the preparation of reagents and media that they produce in-house.
A practical consequence is that the sterility check cannot be treated as an informal habit. It must appear in a controlled document, be referenced in the laboratory quality manual, and produce records that are kept for the same period as patient results. In a regional laboratory in Western Australia or the Northern Territory, where the next reference centre may be several thousand kilometres away, that documentation trail is often the only evidence an external auditor ever sees.
Laboratories also need to align their sterility procedure with the manufacturer's instructions for any commercial media components they use. When in-house preparation supplements a commercial base, the validation evidence has to show that the final product still performs as expected. A sterility check is one piece of that validation puzzle, but it must be framed in a way that satisfies both the manufacturer and the accreditor.
Defining the Scope and Parameters of the Sterility Check
Before any pipette is lifted, the laboratory needs to define what counts as a sterility check. The simplest definition is a portion of every batch of prepared media, incubated in conditions favourable to the growth of bacteria and fungi, and observed over a defined period. That definition, however, hides several decisions that must be made explicit.
The first decision is the sampling fraction. Many Australian laboratories settle on ten percent of each batch, with a minimum of one bottle or slope per prepared lot. Smaller batches of specialised media, such as those used for drug susceptibility testing, may justify a higher fraction because the cost of failure is greater. The second decision is the incubation temperature. Most fastidious contaminants grow well between 20 and 25 degrees Celsius for fungi, and 35 to 37 degrees Celsius for bacteria, so a combined approach using two temperatures is sensible.
The duration of incubation needs careful thought. Two weeks will catch most environmental bacteria and fungi, but slow-growing environmental mycobacteria, which are occasionally found in laboratory water supplies, may need longer. Many laboratories choose fourteen days as a practical compromise, with an additional week for high-risk batches. Whatever the laboratory chooses, it must be written into the procedure and applied consistently.
The final scope decision is about what to do when a result is equivocal. A single colony on a slope that otherwise looks clean, for example, may reflect a problem in the incubator rather than the media. The procedure should describe the investigation steps, the authority required to release the batch, and the documentation expected at each stage.
Preparing the Testing Environment and Equipment
A sterility check is only as good as the environment in which it is performed. Australian laboratories preparing TB media usually work inside a Class II biosafety cabinet, and the sterility samples should be taken while the cabinet is in use rather than before or after a session. The cabinet should have been running long enough for the airflow to stabilise, and the work surface should be clean and free of clutter.
The incubation equipment itself needs to be qualified before it is used for sterility checks. Temperature mapping studies, ideally performed during commissioning and repeated annually, give the laboratory confidence that the set temperature reflects the temperature at the sample position. A calibrated data logger or thermometer, traceable to a national standard through the Australian National Measurement Institute, should be available for routine verification.
Sample containers must also be appropriate. Sterile, single-use containers are usually the simplest option, and reusable bottles need a validated cleaning and sterilisation procedure of their own. The pipettes used to transfer media into the sterility container should be sterile and either single-use or autoclaved with each cycle. None of these elements is exotic, but each must be present in a controlled record.
Designing the Procedure Step by Step
A workable procedure can be written on a single page if the laboratory is clear about each stage. Begin with a list of equipment and consumables, including the biosafety cabinet, sterile containers, calibrated incubator, and the personal protective equipment required for handling TB media. The list should also name the person responsible for each action, since an auditor will always ask who did what.
The body of the procedure describes the sampling plan, the labelling convention, the transfer technique, and the incubation conditions. Each step should be detailed enough for a competent technologist who has never performed the test to follow it without verbal instruction. Visual cues, such as a sample of the label to be used or a photograph of the transfer technique, can help in laboratories where English is a second language for some staff.
End the procedure with explicit acceptance and rejection criteria. A negative result after the full incubation period releases the batch for clinical use. Any visible growth, turbidity, or colour shift rejects the batch and triggers a documented investigation. The procedure should also describe how rejected media is disposed of, whether by autoclaving or chemical disinfection, in line with the laboratory's waste management plan.
Documentation, Records, and Data Interpretation
Records turn an action into evidence that survives an audit. Each batch of media needs a unique identifier that connects the sterility check to the preparation record, the lot numbers of the components used, and the technologist who prepared the batch. The sterility record itself should capture the date and time of sampling, the incubator used, the temperature at the time of reading, and the result.
Trends in sterility results are often more informative than individual readings. A laboratory that consistently records clean batches and then sees three positives in a fortnight has a problem worth investigating, even if each individual positive might be explainable. Trend logs, reviewed monthly, give supervisors a way to spot those patterns early.
When a batch fails, the investigation should follow a structured template. Possible causes include the autoclave cycle, the aseptic technique, the commercial supplements, the incubator itself, and the sterility of the sample container. Each possibility should be examined, and the conclusion recorded. The next batch should be quarantined until the cause is identified and corrected.
Reviewing and Improving the Procedure Over Time
A sterility procedure should never sit on the shelf untouched. Australian laboratories typically review their procedures annually, or sooner if a significant change occurs in equipment, supplier, or workload. Reviews should consider recent non-conformances, proficiency testing feedback, and any changes in the RCPA or NATA expectations.
The review is a chance to update the procedure in line with the wider quality management framework. Many laboratories draw on the continual improvement resources hosted on the GLI Quality Tool to benchmark their own approach against international practice and to identify practical gaps that internal reviews sometimes miss.
Once a procedure has been used for a full year, it is worth asking whether it still serves the laboratory well. A small regional laboratory that has grown into a high-throughput reference centre may need to revise its sampling fraction, its incubation duration, or its documentation format. A procedure that no longer fits the workload should be reworked, not ignored, because the alternative is a sterility check that exists on paper but adds little real protection.
If your team is developing or refreshing a TB media sterility procedure and would value feedback from laboratories that have already been through the process, the team behind the GLI Quality Tool welcomes comments through their feedback page. A short message describing your setting, the media in use, and the challenges you have run into can be returned through a quality improvement conversation rather than left to drift.