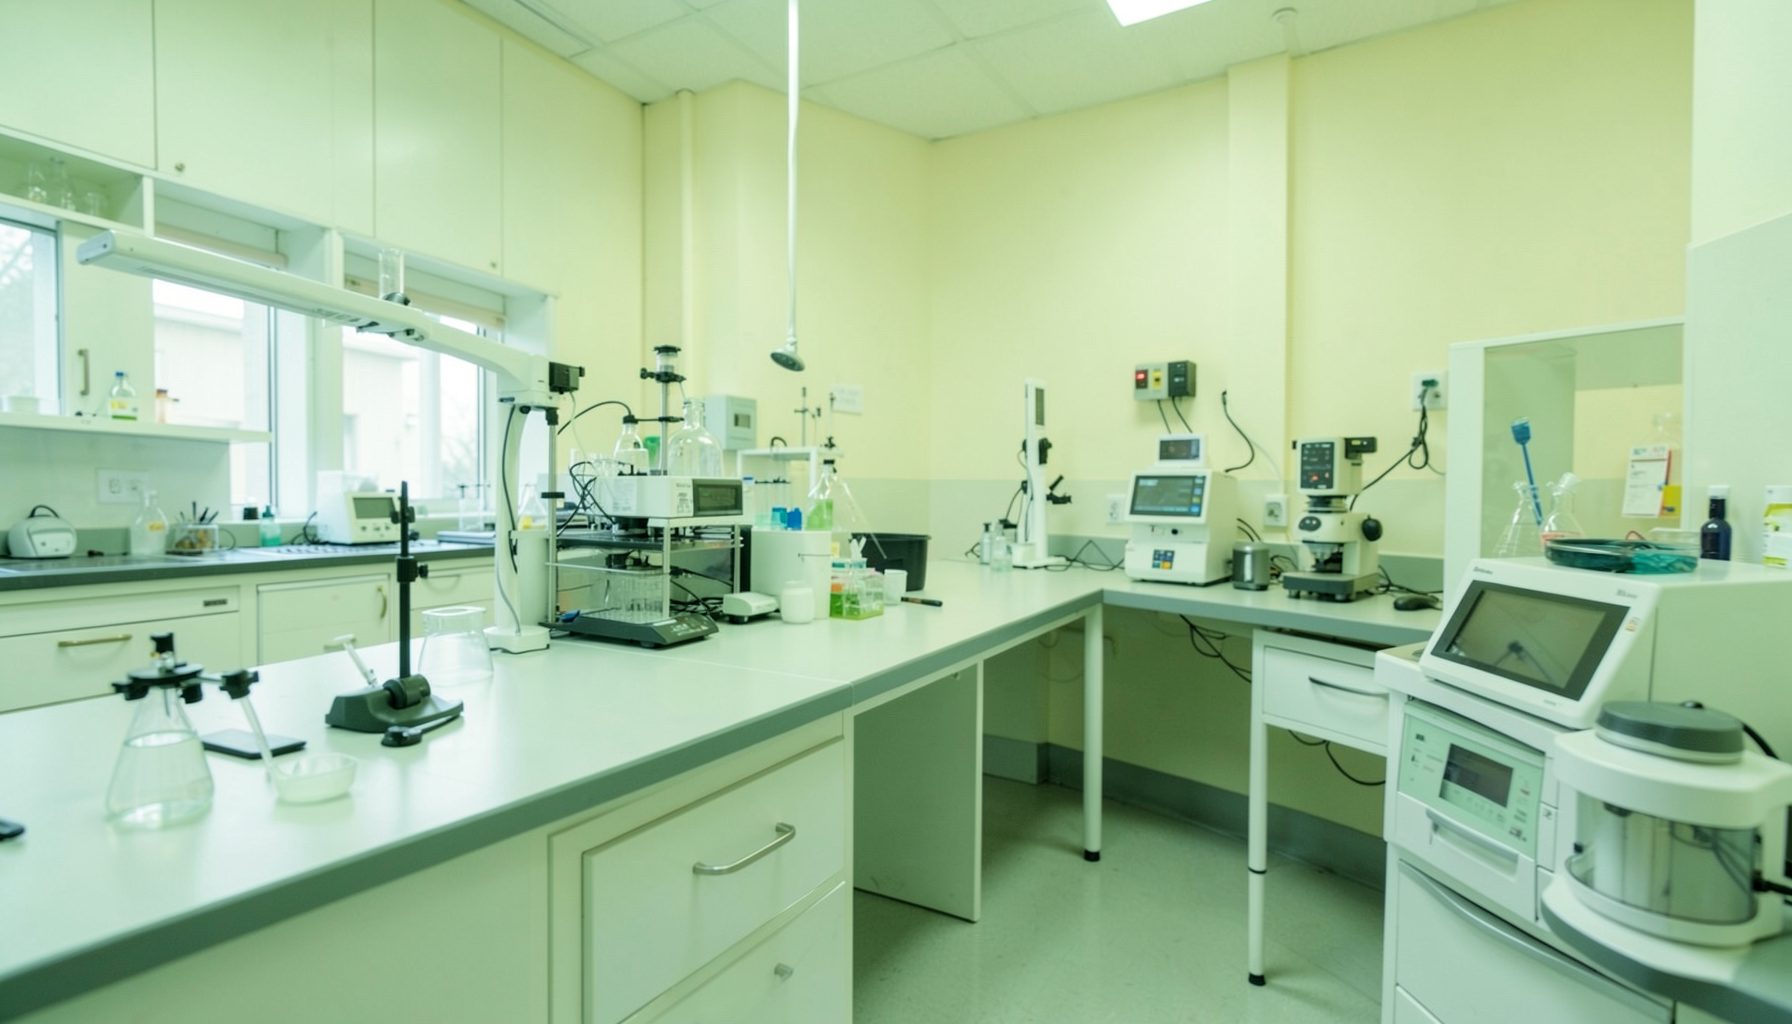
Building A Daily TB Laboratory Checklist In Low-Resource Settings
A tuberculosis laboratory checklist for opening and closing daily operations should make safe practice easier to repeat, verify and document. In a small or resource-constrained facility, the checklist may be used by one technologist at the start of a shift, shared across several benches, or adapted when power, water, staffing and transport are unreliable.
The most useful version is brief enough for a busy morning and specific enough to identify risks before testing begins. It should support the laboratory’s quality management system, align with local biosafety procedures and fit the actual workflow, from specimen reception through molecular testing, microscopy, waste handling and end-of-day handover.
Start With The Daily Workflow
Develop the checklist by walking through a normal shift rather than copying a generic form. Observe what happens when staff arrive, unlock the laboratory, check the room and equipment, receive specimens, perform testing, clean work areas and prepare materials for the next day. Include tasks that are easy to forget, such as checking the temperature log, confirming printer paper and reviewing pending results.
The opening section should focus on readiness and risk control. Staff can initial each item after confirming that the bench is clean, required supplies are available, safety equipment is accessible and instruments are functioning. A closing section should confirm that specimens and results are secure, waste is managed, equipment is left in the correct state and unresolved problems have been recorded for the next shift.
In Australia, a checklist may need to work across a large public health laboratory network as well as a small regional service. A facility in Darwin, for example, may face wet-season transport delays and high humidity, while a remote service supporting Aboriginal and Torres Strait Islander communities may have limited technical cover. The form should allow staff to record a temporary workaround and escalate it, rather than simply marking a task as complete.
Cover Safety Before Testing Begins
Opening checks should begin with the laboratory environment. Staff should confirm that access is controlled, lighting is adequate, ventilation is operating as intended and no spill, leak, pest issue or unusual odour is present. If the facility uses a biological safety cabinet, the checklist should require a visual inspection, status check and confirmation that the cabinet is within its certification period.
Personal protective equipment needs a visible place in the checklist. Include laboratory coats or gowns, gloves, eye protection and respiratory protection where required by the risk assessment. A quick check should confirm that hand hygiene supplies, disinfectant, spill materials, sharps containers and first aid resources are available. The list should also direct staff to stop and report unsafe conditions instead of proceeding under pressure.
Environmental monitoring can be especially important where temperature, humidity, dust or unstable power could affect testing. The environmental monitoring guide can help laboratories build checks around their own rooms, equipment and operating conditions. Record the observation, acceptable range, corrective action and person responsible; a tick without evidence is weak quality documentation.
Verify People, Equipment And Materials
The person opening the laboratory should check staffing and authorisations before work starts. The checklist can identify who is responsible for specimen reception, testing, result review, cleaning and incident escalation. It should include a prompt to confirm that staff are trained and competent for the procedures planned that day, particularly when a relief worker or visiting scientist is covering a shift.
Equipment checks should be practical. For a molecular platform such as Xpert MTB/RIF Ultra, staff may need to confirm instrument status, temperature conditions, cartridge stock, calibration or maintenance dates and availability of a backup plan. For microscopy, check the microscope, power supply, objectives, stains, slides and controls. If culture is performed, include incubator readings, media status and any additional containment requirements specified by the laboratory’s risk assessment.
Stock control should cover more than reagents. A low-resource laboratory may run out of gloves, labels, disinfectant, printer ribbons, specimen bags or charging capacity before it runs out of test kits. Add minimum stock levels, expiry checks and a clear escalation route. In regional Australia, supplies may travel from Brisbane, Perth or a capital-city warehouse, so the checklist should flag shortages early enough for procurement and courier arrangements.
Make Closing Checks Protect The Next Shift
Closing procedures should leave a safe, traceable starting point for the following day. Staff should reconcile received specimens with the accession register, confirm that results have been reviewed and released according to policy, and identify tests awaiting action. Any rejected, leaking, incorrectly labelled or delayed specimen should have a documented disposition rather than being left on a bench.
Decontamination prompts should specify the surface, product, concentration, contact time and responsible person. Include benches, frequently touched equipment, racks, centrifuges and the biological safety cabinet where applicable. The checklist should also cover sharps, infectious waste, used PPE and specimen storage. Cleaning records are more useful when they show what was cleaned and when, rather than relying on a single signature for an entire room.
End-of-day equipment status must be explicit. Some instruments should remain powered, while others require shutdown, charging or a controlled maintenance state. Staff should record temperature readings, alarms, reagent storage and unresolved faults. In a small team, a brief verbal handover at the end of the arvo can help, but it should support written documentation rather than replace it.
Keep Opening And Closing Checks Usable
A checklist becomes routine when it takes minutes rather than becoming another form that staff rush through. Use short action statements, one decision per line and response options such as “Yes”, “No”, “Not applicable” and “Action raised”. Avoid vague wording such as “check laboratory” and write “Confirm the incubator temperature is within the approved range”.
Opening checks
- Confirm room condition, access and ventilation
- Check PPE, spill supplies and disinfectant
- Verify instrument status, controls and required reagents
- Review staffing, pending work and safety notices
Closing checks
- Reconcile specimens, results and pending actions
- Disinfect work areas and manage infectious waste
- Record temperatures, alarms, stock issues and equipment faults
- Secure specimens, records, devices and restricted areas
The person completing the check should sign or use a controlled electronic identifier, with the date and time recorded. Supervisors can review exceptions daily and trend repeated failures monthly. If the same item is missed several times, the remedy may be a better storage location, clearer responsibility or a revised workflow—not simply a reminder to “be more careful”.
Connect The Checklist To Quality Improvement
The daily form should sit within the twelve Quality Systems Essentials rather than operate as an isolated safety sheet. It can provide evidence for facilities and safety, equipment, purchasing and inventory, documents and records, assessment, occurrence management and continual improvement. Keep the current version controlled, remove obsolete copies and define who can approve changes.
The laboratory checklist resources provide a useful starting point for adapting prompts to a TB service. Localise every item to the tests performed, biosafety controls, staffing model and applicable policies. A checklist designed for a high-throughput metropolitan service may need substantial changes before it fits a single-room laboratory or a mobile service.
Use nonconformities and near misses to improve the form. If a power interruption causes an incubator alarm, add a prompt for backup power and escalation. If specimens regularly arrive without adequate packaging, include a reception check and communicate the requirement to collection sites. Australian laboratories working within NATA-accredited systems should ensure checklist records support relevant ISO 15189 processes and local state or territory requirements.
Compare Paper, Digital And Hybrid Formats
Format selection should reflect connectivity, staffing and the consequences of missing a record. Paper may be the most reliable option where internet access is intermittent, while a digital form can improve trend analysis and automatic reminders. A hybrid approach often works well: staff complete a printed shift sheet, then supervisors enter exceptions into a quality register.
| Format | Strengths | Limitations | Suitable use |
|---|---|---|---|
| Paper sheet | Works during outages; easy to introduce; low cost | Manual filing; harder to trend; risk of lost records | Remote or low-connectivity benches |
| Digital form | Time stamps; dashboards; automatic escalation | Needs power, devices and user training | Larger laboratories with stable systems |
| Hybrid process | Maintains continuity and supports analysis | Requires two handling steps | Regional networks and variable connectivity |
Whichever format is selected, retention rules, access controls and backup arrangements should be clear. A digital checklist should not depend on one staff member’s password, and a paper form should have a defined filing location. Review the form after a trial period with the people who actually use it, including specimen reception staff, cleaners and technical officers.
A strong opening and closing routine is a small operational control with a broad effect. It can prevent avoidable exposure, identify equipment problems early, protect result integrity and create reliable evidence for review. In a low-resource TB laboratory, that consistency helps the team deliver safe, dependable testing even when conditions change.
Adapt the checklist to the rooms, instruments, people and supply routes in your service, then test it during real shifts. Assign ownership, review exceptions regularly and update the document when procedures or risks change. A practical checklist that staff use every day will support quality far better than a perfect-looking form kept in a folder.