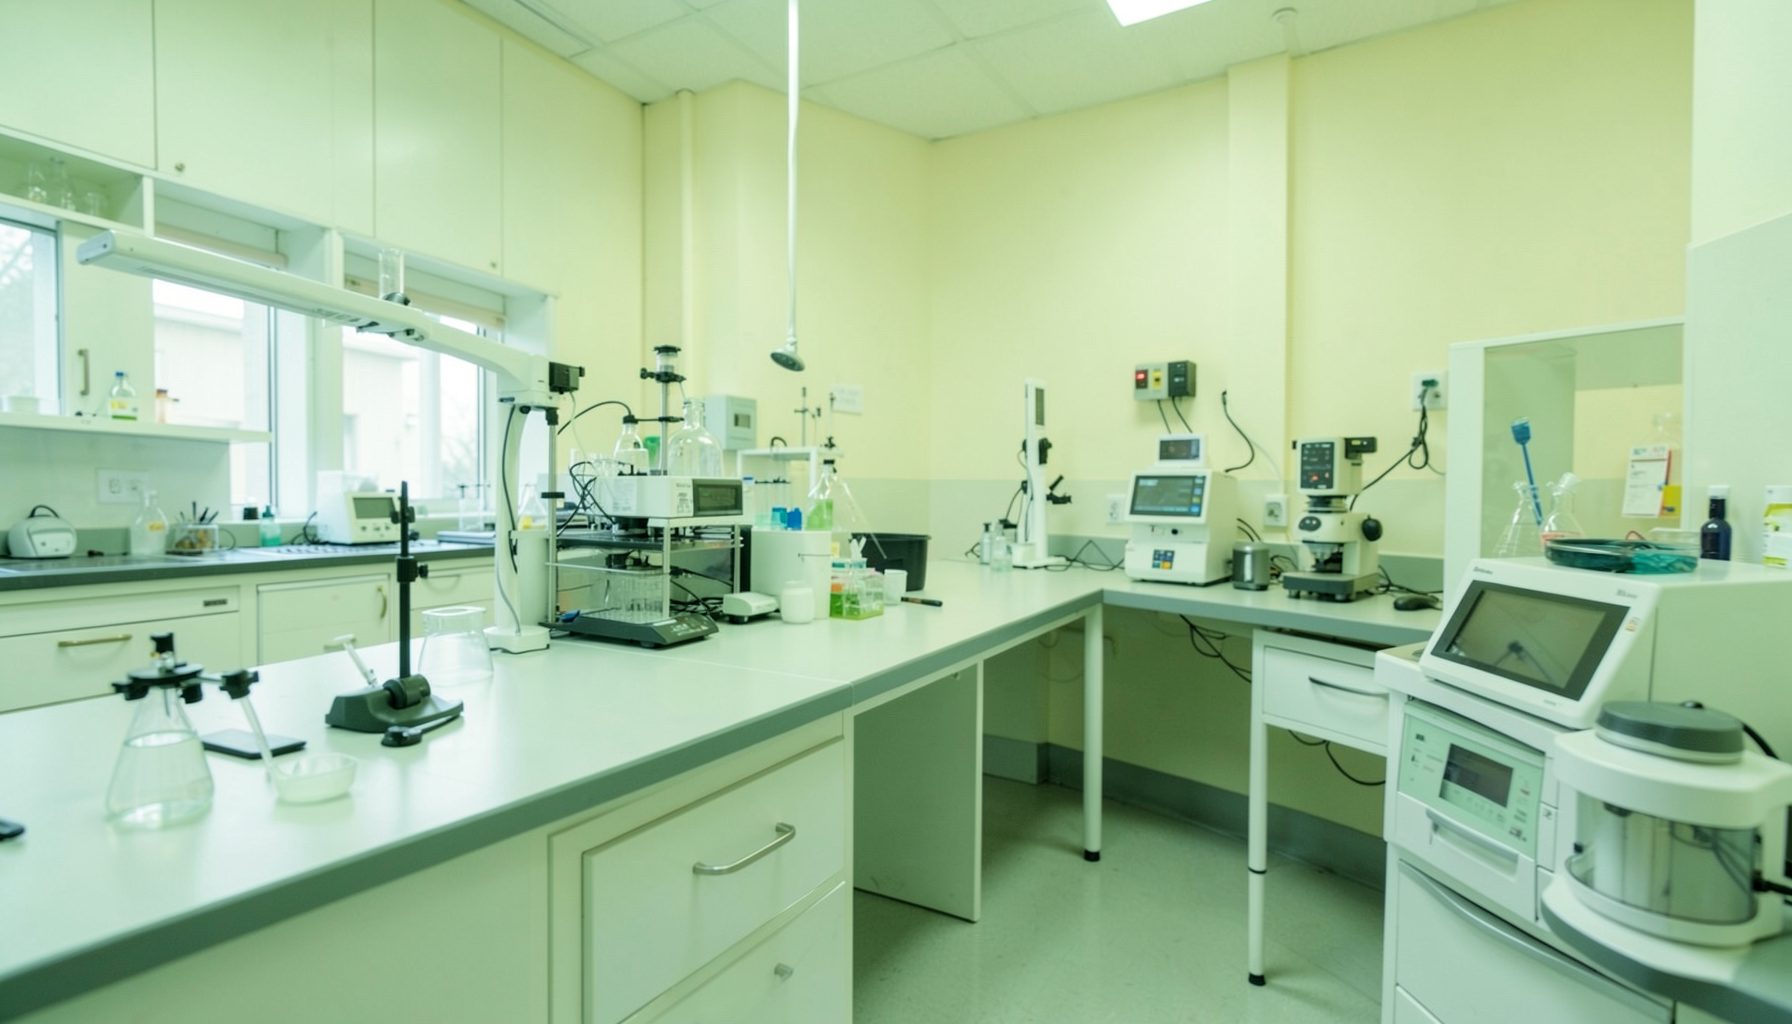
Developing a TB laboratory cleaning schedule for every lab zone
A reliable cleaning protocol is a core part of tuberculosis laboratory quality management. It protects staff, reduces cross-contamination, supports accurate testing and provides evidence that routine controls are working. The schedule should be written for the actual laboratory, rather than copied from a generic template, because a regional hospital laboratory will have different workflows from a high-volume reference service.
TB work requires particular care around aerosol-generating activities, including specimen opening, aliquoting, vortexing, centrifugation and culture manipulation. Cleaning must therefore be linked to the movement of specimens, people, equipment and waste. A room may look clean while still presenting a contamination or exposure risk if high-touch surfaces, centrifuge components or spill-prone areas are overlooked.
The protocol should sit within the laboratory’s quality management system, with named responsibilities, approved products, contact times, records, incident actions and review dates. In Australia, the document should also fit local work health and safety requirements, NATA expectations, relevant Australian Standards and the operating procedures of the state or territory TB service.
| Laboratory zone | Main risk | Minimum timing | Key controls and records |
|---|---|---|---|
| Specimen receipt and accessioning | Contaminated packaging and high-touch surfaces | Each shift and after a spill | Clean benches, phones, scanners and handles; record spill response |
| Class II biological safety cabinet | Aerosol and specimen contamination | Before and after use, plus scheduled deep cleaning | Follow cabinet procedure, use validated disinfectant and document completion |
| Specimen processing room | High-risk aerosols and cross-contamination | Between tasks where required, at shift end and after incidents | Clean work surfaces, centrifuge accessories and frequently touched controls |
| Culture and identification area | Viable organisms and contamination of instruments | Daily, after procedures and during planned maintenance | Coordinate with equipment instructions and retain cleaning log |
| Waste and decontamination area | Leaks, sharps and contaminated containers | Daily and immediately after leakage | Use PPE, segregate waste and record faults or exposure events |
| Office, change and clean support areas | Indirect transfer and general hygiene | Daily or according to traffic | Keep clean and dirty flows separate; include door handles and shared devices |
Start with a zone-based risk assessment
Divide the laboratory according to activities and contamination risk, rather than relying only on room names. A specimen reception bench may need a stricter routine than a large room used for low-risk paperwork. Define clean zones, transition zones and dirty or high-risk zones, then mark the direction of workflow on a simple floor plan.
High-risk areas usually include the biological safety cabinet, specimen processing bench, centrifuge area, culture workstations and waste holding points. Medium-risk areas may include specimen receipt and shared equipment surfaces. Offices, staff amenities and corridors have different cleaning needs, but they still require attention to hand-contact points and the separation of personal items from laboratory materials.
The GLI Quality Tool’s quality management guidance can help laboratories connect cleaning controls with responsibilities, documentation, assessment and continual improvement. This is especially useful when a service is introducing a new molecular platform, moving into a refurbished room or preparing for a NATA assessment.
Define cleaning methods and safe products
The protocol should specify what is cleaned, which product is used, how it is prepared, the required wet contact time and how the surface is allowed to dry. Select a disinfectant based on the organism, surface compatibility, staff safety and manufacturer instructions. A product suitable for ordinary environmental cleaning may not be appropriate for areas exposed to mycobacteria or respiratory specimens.
Do not mix chemicals, decant products into unlabelled bottles or assume that a stronger concentration is automatically safer. Include instructions for dilution, expiry, storage and response to splashes. Safety Data Sheets should be accessible, and staff should know when eye protection, gloves, gowns or respiratory protection are required.
Cleaning and disinfection are separate steps when visible soil or organic material is present. Staff should remove soil using a method that limits splashing and aerosol generation, then apply the disinfectant for its full contact time. Mops, cloths and brushes should be assigned to zones or disposed of appropriately so that cleaning does not spread contamination from a dirty area into a clean one.
Match frequency to the work cycle
A useful schedule has several layers. Cleaning before work begins confirms that the area is ready. Cleaning between incompatible activities controls carryover. End-of-shift cleaning resets the zone for the next team, while weekly or monthly tasks address walls, shelves, ventilation grilles, storage areas and equipment components that are missed during routine work.
The frequency should reflect workload and staffing. A metropolitan reference laboratory processing specimens throughout the day may need repeated surface disinfection and task-based cleaning. A smaller service in regional New South Wales or northern Queensland may process fewer samples but face longer courier delays, seasonal surges and limited access to replacement equipment. The protocol should state what happens when a shift is extended, a cleaner is absent or a specimen arrives after the normal cleaning round.
Build cleaning into the workflow rather than treating it as an optional job at the end of an already busy arvo. The senior scientist or designated shift lead should verify high-risk areas before handover. Contractors may clean public or low-risk spaces, but laboratory staff should control high-risk cleaning unless the contractor has been trained, supervised and authorised.
Write clear responsibilities and records
Every task needs an owner. The document can assign routine bench cleaning to the person completing the procedure, cabinet cleaning to trained technical staff, general room cleaning to an approved contractor and weekly verification to the laboratory supervisor. It should also identify who checks product stock, reviews missed tasks and escalates repeated failures.
A simple record may include the date, time, zone, task, product and concentration, staff initials, exceptions and corrective action. Electronic records can work well where the laboratory has reliable access, but a controlled paper form remains practical for smaller services and remote facilities. Records should be legible, retrievable and protected from unauthorised changes.
Include a sign-off process for new staff, agency workers and people who rotate from another department. Competency should cover PPE, hand hygiene, safe movement through zones, chemical handling, spill response and the difference between routine cleaning and decontamination after an incident. In Aboriginal and Torres Strait Islander health services, consultation with local teams can help ensure that procedures fit staffing patterns, cultural safety expectations and community-based workflows.
Manage spills, faults and unusual events
Routine cleaning cannot replace a spill procedure. The protocol should describe how to restrict access, allow aerosols to settle when appropriate, use the required PPE, cover and remove the material safely, disinfect the area and dispose of waste. It should also explain when to notify the supervisor, infection prevention team, work health and safety contact or public health authority.
Centrifuge breakage, leaking specimen containers, failed cabinet airflow and power interruptions require special instructions. Staff should never improvise by opening a contaminated centrifuge immediately after a suspected breakage. The response should follow the equipment manual, biological safety procedure and local incident reporting system.
Australian laboratories may need to plan for practical disruptions such as bushfire smoke, flooding, cyclone conditions in the Top End or a delayed pathology courier from a remote community. A cleaning schedule should identify minimum stock levels for disinfectant, disposable cloths, gloves, spill kits and waste bags, along with an alternative process when normal waste collection or water supply is interrupted.
Verify performance and improve the schedule
Supervisors should check whether cleaning is actually completed and whether it works. Direct observation, record review, surface inspection, staff feedback and incident trends can reveal problems that a completed tick box will not. Repeated missed tasks may indicate unrealistic timing, poor placement of supplies or unclear ownership rather than careless staff.
Use internal audits to examine a sample of zones each month or quarter. Review whether products are in date, contact times are followed, equipment cleaning is documented and corrective actions are closed. Where appropriate, environmental monitoring or targeted checks may support an investigation, but testing should be selected carefully and interpreted by qualified personnel rather than used as the sole measure of cleanliness.
The phase checklists provide a practical way to review the maturity of laboratory processes and identify gaps for action. A review may lead to clearer zoning, revised frequencies, better induction training or changes to the design of benches and storage. Reassess the protocol after incidents, renovation, new instrumentation, changes in specimen volume or a change in disinfectant.
A strong protocol is short enough to use during a busy shift and detailed enough to withstand an audit. Develop it with scientists, cleaners, supervisors, infection prevention staff and work health and safety representatives. Map each zone, approve the methods, train every person involved and begin recording completion from the first day. Regularly review the records and make the cleaning schedule a visible part of safe, dependable TB laboratory practice.