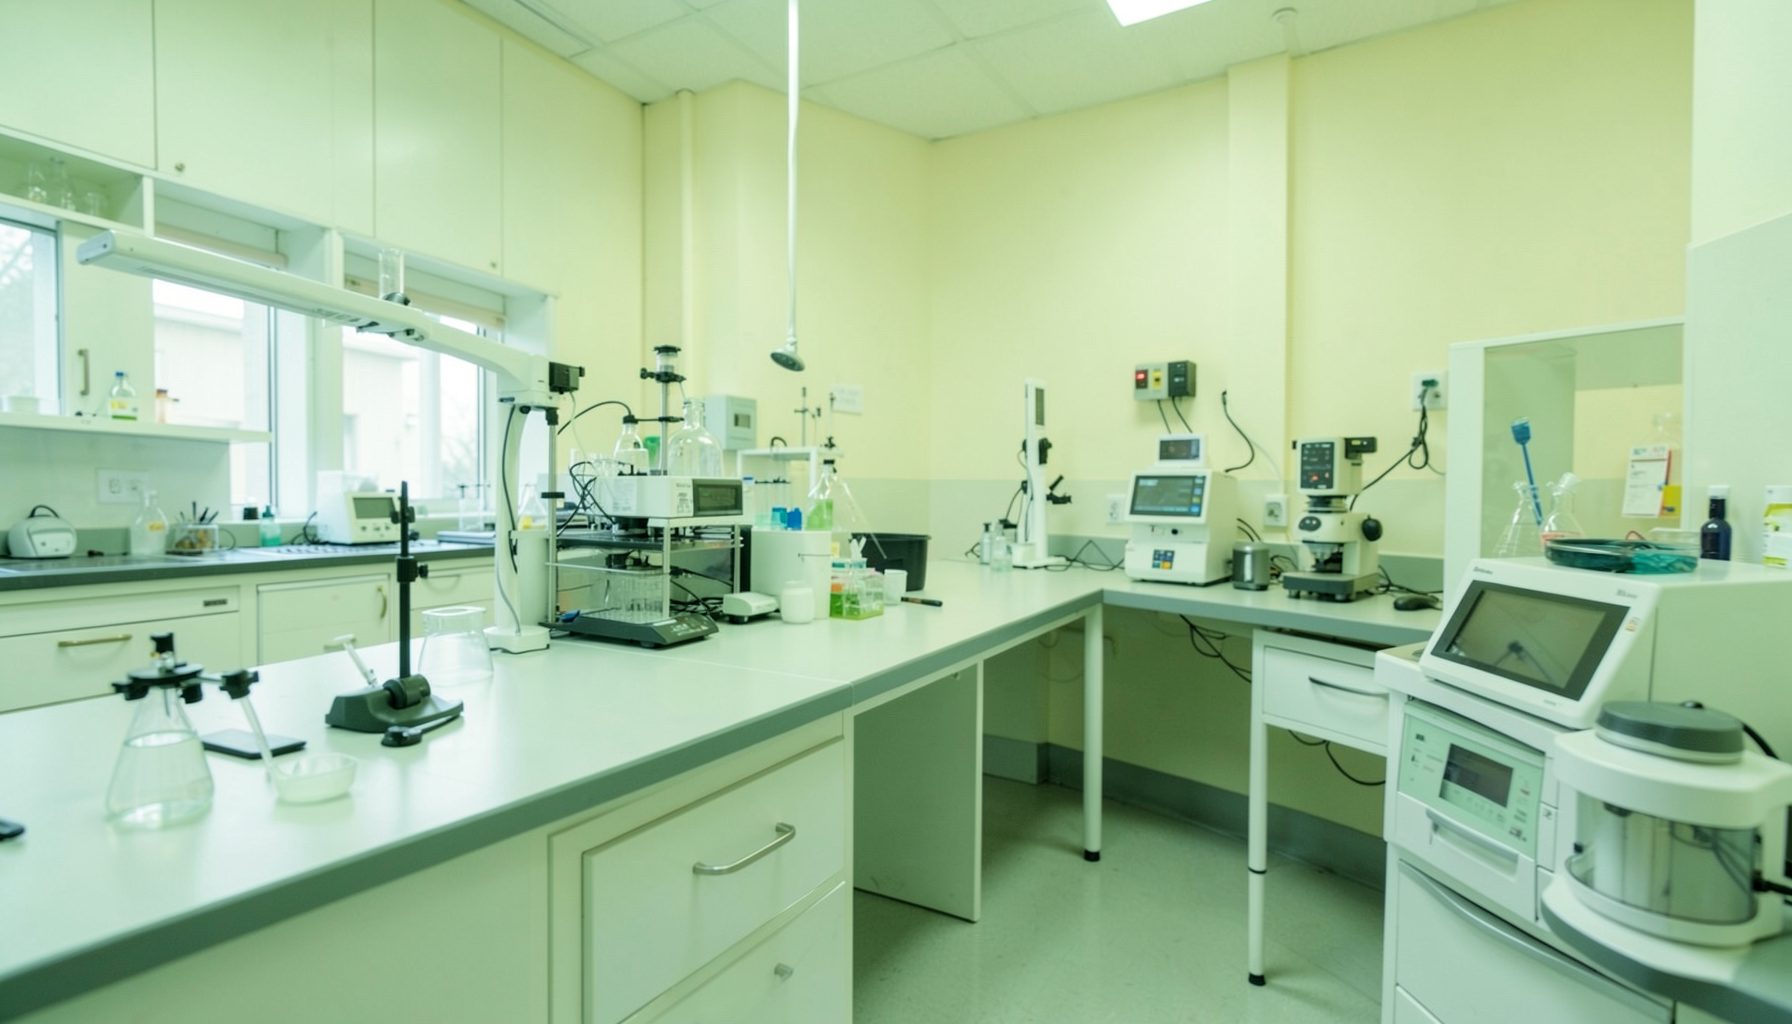
Using Multi-Channel Pipettes Safely in TB Laboratories
Accurate liquid handling is central to reliable tuberculosis testing. In a busy laboratory, a multi-channel pipette can transfer several aliquots at once, reduce repetitive strain and improve consistency across a plate. It can also create a large error quickly when the wrong volume, tip type or dispensing technique is used.
TB laboratories may use multi-channel pipettes for reagent preparation, nucleic acid amplification workflows, plate-based controls and other validated procedures. The instrument must be treated as part of the testing system, rather than as a simple handheld tool. Its condition, settings, maintenance and operator technique all affect the result.
This practical guide is designed for laboratory scientists, technicians, supervisors and quality officers. It fits within the broader quality management approach described in the GLI Quality Tool, particularly the Phase 1 roadmap, where a laboratory establishes the basic systems needed for safe, controlled work.
Australian laboratories may operate within state or territory public health networks, private pathology services, university facilities or remote health programmes. A method that works in a large Sydney or Melbourne laboratory may need extra planning when supplies travel to Darwin, Alice Springs, regional Western Australia or a Torres Strait service. Clear local procedures help maintain the same standard across every site.
Select The Right Pipette And Tips
Choose a multi-channel pipette that matches the plate format, volume range and workflow. Eight-channel models are commonly suited to 96-well plates, while twelve-channel models may be useful when the validated method requires a full row transfer. A pipette should be operated within its stated range; using a 20–200 µL model for a 5 µL transfer can compromise accuracy.
Use tips that are compatible with the specific pipette and suitable for the biological material and reagents. Filter tips are generally appropriate for molecular workflows because they help reduce aerosol transfer into the shaft. Tips should be clean, intact and securely seated. Do not force a universal tip onto a poorly matched cone, and do not reuse tips between patient specimens, controls or reagents.
Before starting, check the channel arrangement and confirm that the plate, reservoir and pipette are aligned. A small mismatch can lead to missed wells or uneven filling. In a high-throughput setting, mark the orientation of the plate and use a simple worksheet or electronic checklist to prevent a row or column from being skipped.
Prepare The Work Area Safely
Organise the bench before picking up the pipette. Separate clean reagent preparation from sample handling and amplification areas according to the laboratory’s workflow. Keep a clean tip box, waste container, disinfectant and absorbent material within reach. Avoid placing a pipette directly on a contaminated bench; use a stand or a designated clean resting position.
Follow the laboratory’s biosafety procedure and the relevant Australian requirements, including local risk assessments and applicable AS/NZS 2243 guidance. TB work can involve infectious material, even when the particular step appears routine. Wear the required gloves, gown and eye protection, and change gloves if they become contaminated or if moving from a dirty area to a clean one.
Let reagents and samples reach the temperature specified by the validated procedure. Cold liquids can behave differently from room-temperature liquids, affecting aspiration and dispensing. Mix solutions as instructed, avoid creating aerosols and keep tubes closed when they are not in active use. In regional or remote laboratories, record any temperature excursion during transport or storage before using the material.
Use Consistent Pipetting Technique
Set the required volume slowly and check the display before loading tips. Press the plunger to the first stop before entering the liquid, then immerse the tips to the depth specified by the manufacturer or procedure. Release the plunger gradually to aspirate. Fast movements can draw air bubbles into one or more channels and cause unequal volumes across the plate.
Hold the pipette vertically during aspiration and use the same immersion depth for each transfer. When dispensing, touch the tips to the appropriate wall of the well if the method allows, press to the first stop, wait briefly, then press to the second stop to expel the remaining liquid. Withdraw the tips while the plunger is still depressed, then release it after leaving the liquid.
Avoid dragging tips across neighbouring wells. If one channel aspirates air, leaks or contacts an incorrect sample, stop and follow the deviation procedure rather than trying to correct the plate informally. Replace the full tip set when required by the method. A single contaminated tip can undermine several results when a multi-channel instrument is used.
Prevent Cross-Contamination
Plan the order of transfers from cleanest to most contamination-prone materials. Reagents and negative controls generally come before patient material, unless the validated method specifies another sequence. Use fresh tips for every transfer that could carry sample, amplicon or concentrated control material. Never return unused liquid from a tip to a stock reagent bottle.
Aerosols can form when liquid is aspirated too quickly, when a tip is submerged too deeply or when the pipette is ejected forcefully. Work smoothly and keep the pipette as upright as practical. Use low-retention or filtered tips only when they have been evaluated for the procedure; a marketing claim alone does not replace verification.
Sample quality also affects the downstream result. A written sample rejection policy should explain what staff do when a container leaks, a label is incomplete, the volume is insufficient or transport conditions are unacceptable. Record the reason, notify the responsible service and protect the patient pathway rather than silently processing a compromised specimen.
Check Accuracy And Maintain The Instrument
Keep a pipette register showing its identifier, channel count, volume range, location, service history and status. Calibration intervals should be based on the manufacturer’s instructions, risk, frequency of use and the laboratory’s quality system. A device used daily for critical TB testing may need closer monitoring than one used occasionally for non-critical preparation.
Routine checks can include visual inspection, seal and cone assessment, gravimetric volume verification and review of channel-to-channel variation. Testing should be performed with suitable water, balances and environmental controls, or by a competent calibration provider. Any out-of-tolerance result requires an assessment of work performed since the last acceptable check.
Clean and decontaminate the pipette according to the manufacturer’s instructions and the laboratory’s biosafety procedure. Some disinfectants can damage seals, shafts or plastics. Do not immerse an electronic or mechanical pipette unless the instructions specifically permit it. Store the instrument upright, unloaded and protected from heat, dust and chemical vapour.
In Australia, equipment records may be reviewed during NATA assessment or an internal audit. The record should show who checked the pipette, what was checked, the result, corrective action and approval for return to service. For sites supplied from interstate or overseas, allow time for calibration, spare parts and servicing rather than waiting until a critical instrument fails.
Verify Results And Improve The Workflow
New operators should demonstrate competence using an approved assessment. This can include identifying the correct pipette and tips, setting volumes, loading a plate map, performing transfers without visible bubbles, responding to a simulated spill and documenting a discrepancy. A supervisor should observe the work and retain the completed assessment in the personnel file.
When a problem occurs, review the whole process. Ask whether the error involved equipment, training, a confusing worksheet, unsuitable consumables, a rushed batch or poor bench layout. Compare control results, rejected wells, repeat testing and operator observations. The purpose is to identify system causes and prevent recurrence, not to assign blame.
Monitor measures that matter to the service, such as invalid rates, repeat rates, pipette failures, contamination events and delayed batches. Track turnaround time from specimen receipt to authorised result; practical guidance on monitoring turnaround time can help connect bench performance with patient care. This is especially important where couriers run only once a day or results travel between a remote clinic and a metropolitan reference laboratory.
Review the procedure after equipment changes, reagent changes, a significant incident or an audit finding. Include staff who use the pipette every day, because they can identify awkward plate layouts, supply problems and steps that are easy to misread during a busy arvo shift. Update the controlled document, train affected staff and check that the new practice is being followed.
Build this guidance into your laboratory’s controlled procedure, competency programme and equipment records. Have each operator practise the full workflow under supervision, confirm the pipette’s calibration status and document the first review of performance. Apply the same disciplined approach across metropolitan, rural and remote services so every TB specimen is handled with accuracy, safety and traceability.