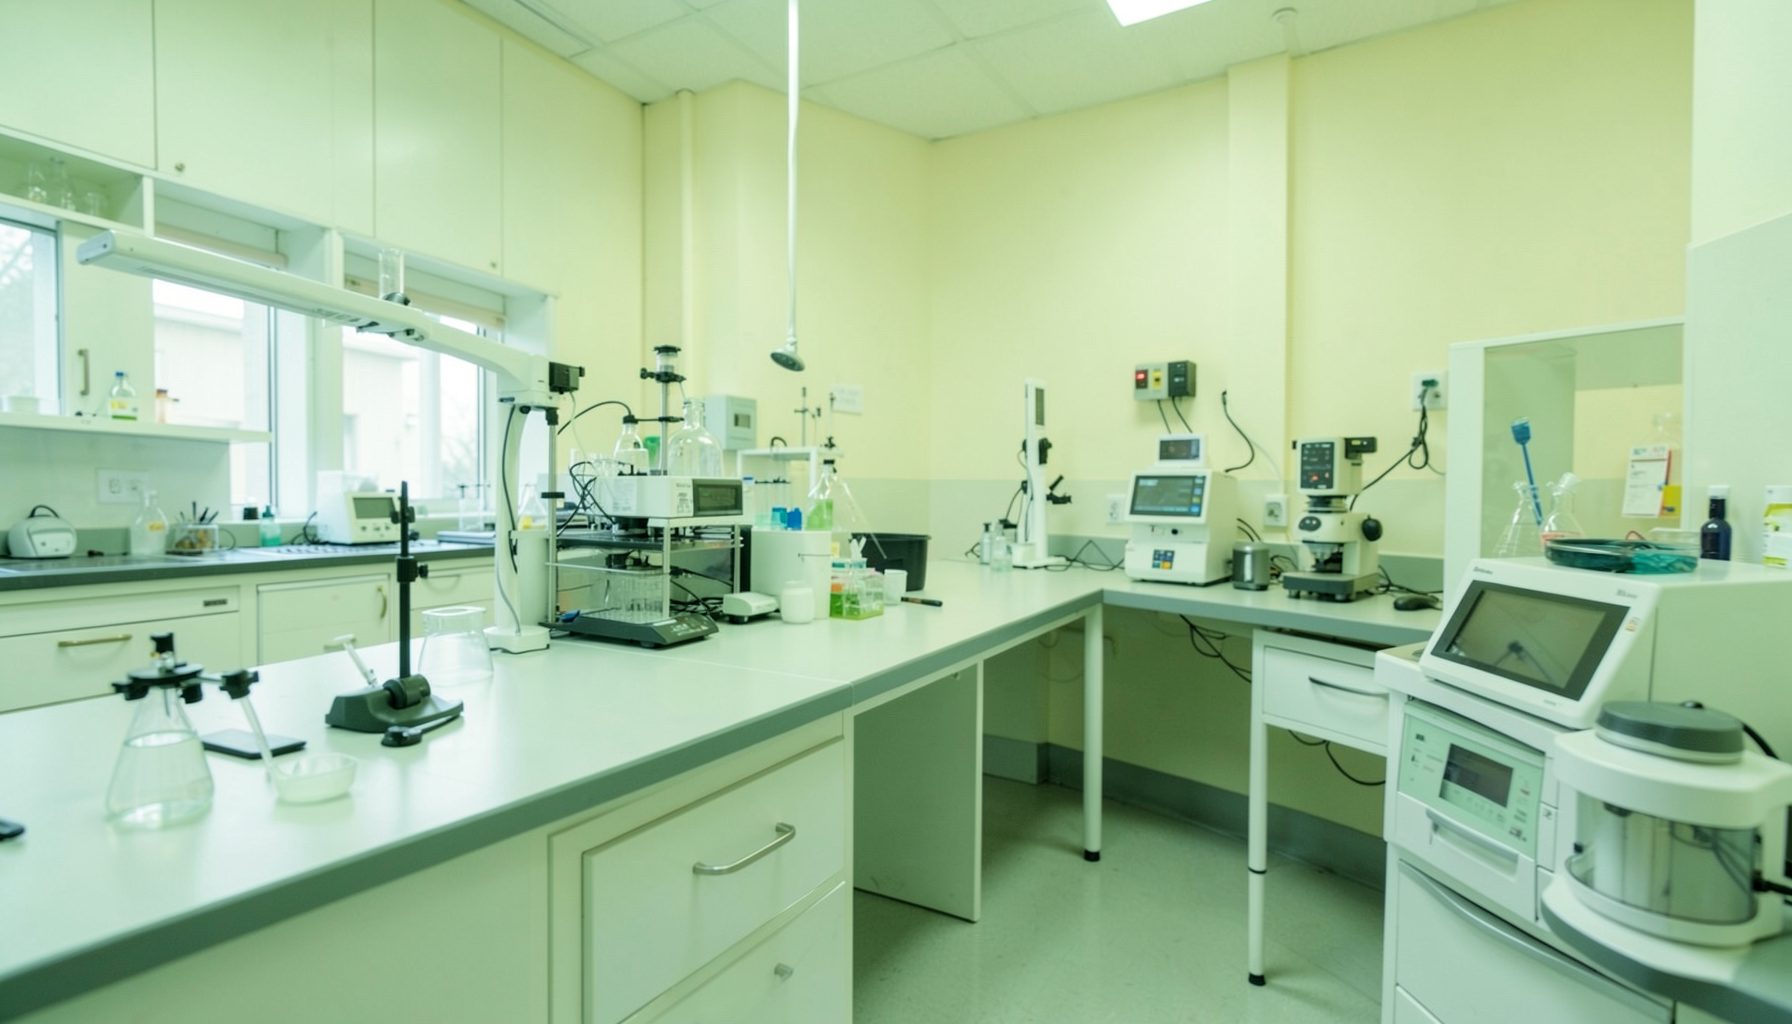
Designing a TB lab workflow to minimise cross-contamination
Smear preparation and staining are consecutive parts of the same tuberculosis laboratory workflow. A contaminated loop, shared staining jar, splash from a sputum container or mix-up at the bench can transfer material between specimens and compromise interpretation. Good staining technique matters, but it cannot compensate for a process that allows specimens, slides, reagents and waste to move in the wrong direction.
The GLI Quality Tool provides a practical framework for improving laboratory quality management systems through four phases and twelve Quality Systems Essentials. Its Phase 1 resources offer a useful starting point for safety, organisation and documentation, while the guidance accommodates laboratories with different staffing, infrastructure and procurement arrangements.
Map specimen and slide movement
Begin with the complete pathway rather than the staining bench alone. Record how sputum specimens arrive, how containers are opened, where slides are labelled and fixed, how they reach the staining area, and where stained slides are read. Include the routes taken by clean slides, staining reagents, contaminated waste and reusable equipment. Repeated movement between these streams creates opportunities for carryover and specimen identification errors.
Transport can be a significant risk point. Specimens travelling from Alice Springs, Darwin or regional collection points may move through road transport and scheduled flights, with delays and temperature variations that affect specimen integrity. Secondary containment, secure packaging and clear receiving checks help prevent a damaged or misidentified container reaching the bench. Labelling should occur as part of the initial processing check, with discrepancies resolved before smear preparation begins.
Separate clean, dirty and staging areas
Create a one-way workflow that moves from clean preparation through specimen handling to staining and microscopy without routinely doubling back. Clean slides, PPE and reagent preparation should be kept physically separate from open specimens and used staining equipment. Where a laboratory has only one bench, establish distinct zones with physical barriers, labelled containers or an agreed sequence for using the available space.
Separate sinks have direct practical value. A sink reserved for final staining rinses should not also receive specimen-handling equipment, and stain and acid-alcohol containers should never be rinsed in a sink used for specimen preparation. Dedicated or colour-coded equipment can make these boundaries obvious during busy periods. A simple rule—“prepare clean, handle dirty, then contain waste”—helps staff remember the workflow without turning every movement into a complicated procedure.
Australian public laboratory networks often operate through formal procurement and service contracts, so improvised containers or unlabelled decanted reagents may breach local chemical-safety requirements. Even where space and budgets are limited, the workflow can improve through clear zoning, standardised containers, labelled storage and a written cleaning sequence.
Control smear preparation at the bench
Treat the smear-preparation area as a controlled transition from an unprocessed clinical specimen to a contained slide. Wear the PPE specified by the risk assessment, open containers without splashing, and keep the work area uncluttered. Where respiratory protection or cabinet use is required by the site assessment, follow that assessment rather than relying on individual habits.
Use a fresh, disposable inoculating loop or other validated smear-making device for each specimen. Reusable equipment needs a documented and effective disinfection process between specimens; simply wiping it down is insufficient. Keep specimen-handling tools separate from tools used to prepare clean stains. Label slides at the point of smear creation and verify the identifier against the specimen container, never against a stack of pre-labelled slides.
Gloves are not a substitute for clean technique. Change them between specimen handling and clean tasks, and avoid touching slides, microscope controls or reagent surfaces with contaminated gloves. Staining batches should be prepared from clean, correctly labelled reagents, with no dipping of specimen-handling equipment into stain, acid alcohol or rinse containers.
Keep staining contained and reproducible
Contamination can enter during staining through dirty glassware, shared staining baths, splash from taps and cups, or careless handling of control and patient slides. Use clean staining jars and racks, prepare reagents according to the validated method, and record reagent lots and expiry dates. Do not top up depleted baths or mix fresh chemical into old stock without following the laboratory’s documented preparation procedure.
Include appropriate positive and negative control smears with each batch, as specified by the local method, and handle them with dedicated tools where practicable. Control slides should be identifiable and kept in a defined position on the rack. Rinse water quality also matters because impurities can leave deposits that obscure organisms or resemble staining artefacts.
Fix smears using the validated heat-fixation method for the chosen staining procedure. Keep ignition sources outside biosafety cabinets and follow local controls for open flames, electrical equipment and chemical handling. Do not assume that fixation or staining makes every smear noninfectious: retain containment for slides, reagents and waste until the authorised handling and disposal steps are complete.
Where space is limited, compare common arrangements by the controls they support rather than by equipment alone.
| Workflow arrangement | Cross-contamination controls | Suitable setting | Main limitation |
|---|---|---|---|
| One-way shared bench | Clear movement order, separated slides and reagents, no return trips | Small laboratory with one bench | Relies on discipline and visible cues |
| Two-zone bench | Physical divider between clean preparation and used-item handling | Single-room laboratory needing stronger separation | Barrier and movement can create bottlenecks |
| Parallel preparation and staining | Separate staff, equipment, sinks and waste routes | Higher-throughput urban laboratory | Requires more space and supervision |
| Remote microscopy workflow | Local preparation, validated fixation, sealed slide transport and central reading | Distributed services with transport constraints | Requires inter-site quality agreements |
Choose the arrangement that the laboratory can sustain, then define who checks each boundary. Visual controls should reinforce the written procedure, not replace it.
Verify controls through routine evidence
A quality management system needs evidence that the workflow is working. Use an opening checklist to confirm cleaning, reagent preparation, water supply, equipment availability and correct labelling supplies. Record batch numbers, control results, reagent lots, deviations and corrective actions. Microscope maintenance, daily function checks and objective cleaning should also be traceable to responsible staff.
Monitor contamination events, identification errors, repeated staining artefacts and specimen reprocessing as quality indicators. Include near misses and staff observations, using a non-punitive approach that encourages reporting. Periodic proficiency testing and internal review can then test whether the controls produce reliable results across staff, batches and working conditions.
The GLI guidance on turnaround time monitoring is particularly useful when introducing additional movement or cleaning steps. Measure the effect on laboratory and clinic workflows rather than assuming that a longer process is necessarily safer. A safety drill checklist also supports realistic exercises for spills, equipment failures, interrupted supplies and delayed transport.
Test the redesign with the people doing the work
Pilot changes with one specimen stream, bench or laboratory before applying them everywhere. Ask scientists, technicians, collection staff and cleaners to walk through the proposed workflow and identify points that are impractical during a busy run. This is especially important in Aboriginal and Torres Strait Islander primary health services, where laboratory support may involve remote health practitioners and visiting staff. Procedures must remain usable during leave, staff turnover and interruptions to transport.
Keep instructions in plain English and include visual prompts at the point of work. Training should cover not only smear preparation and staining technique, but also specimen identification, movement rules, spill response, waste segregation and handover. Feed observations and deviations back into the quality management system so that the redesign develops through documented improvement rather than informal adjustments.
Document the agreed controls, assign responsibility for each check and retain the completed records. Review performance at a defined interval using contamination, quality-control and turnaround-time evidence, with corrective actions tracked to completion.
Download the relevant GLI checklists, map one high-risk handoff today, and walk the full route with the bench team. Put the agreed controls into the live checklist and put the first review date on both the laboratory whiteboard and the quality records.