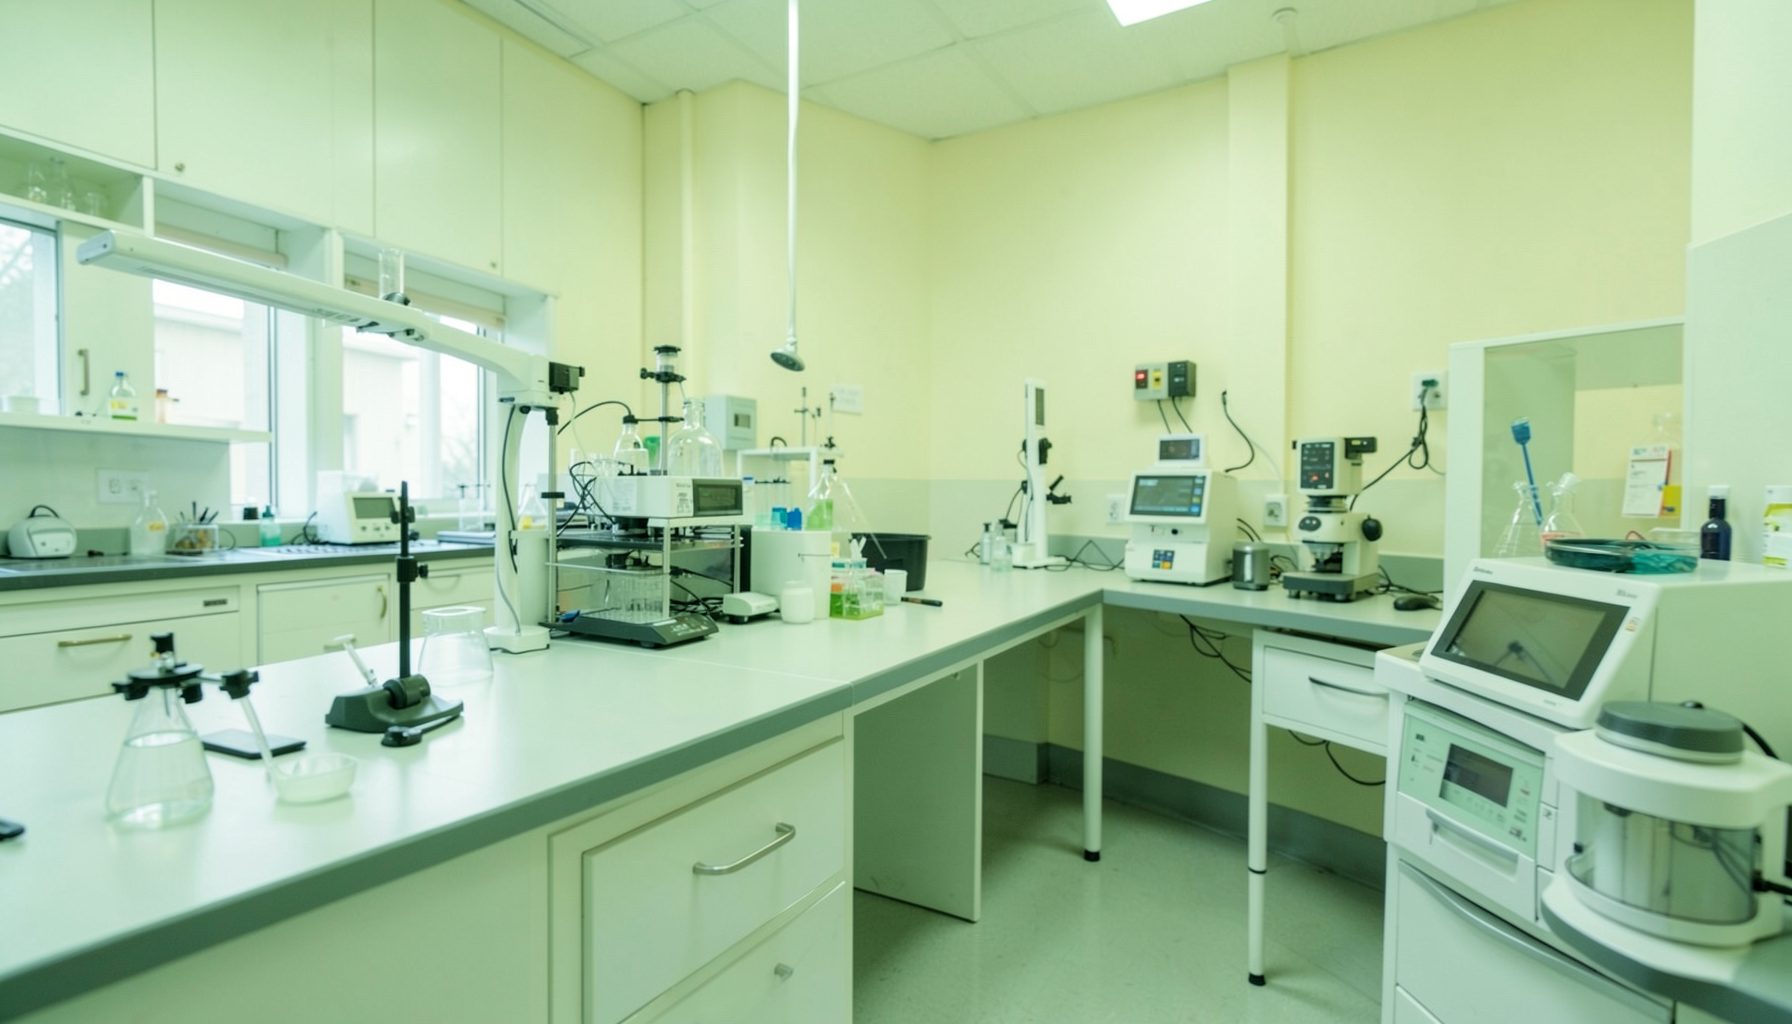
Designing a TB laboratory workflow map to reduce contamination
A well-designed workflow map makes every movement through a tuberculosis laboratory visible: the specimen’s route, the staff member’s actions, the equipment used, and the point at which waste leaves the area. This clarity helps identify where infectious material could spread to another sample, a work surface, an instrument, or a person.
For laboratories in Australia, the map should reflect both routine diagnostic work and the practical realities of public health testing. A metropolitan service in Sydney or Melbourne may manage high volumes through automated systems, while a laboratory supporting Darwin, regional Queensland, or remote communities may depend on courier schedules, smaller teams, and longer transport times. The same principles apply, but the controls must fit the setting.
Start with the complete specimen journey
Begin with the patient and follow the specimen through collection, transport, receipt, testing, result review, storage, and disposal. Include sputum, induced sputum, gastric aspirates, tissue, and any other specimens processed for tuberculosis investigation. Record where each item enters the facility, who accepts it, and how its identity is checked.
A useful map shows physical location as well as sequence. Mark the reception bench, accessioning computer, biosafety cabinet, centrifuge, nucleic acid amplification platform, culture area, microscopy bench, refrigerator, incubator, waste route, and reporting station. If a sample can move backwards through the same doorway or pass across a clean bench, the map should make that risk obvious.
The user instructions for the GLI Quality Tool can help teams understand how to use its phased resources while developing this type of process view. Involve staff who perform each step, since a formal procedure may differ from what happens during a busy evening shift or an urgent notification from a public hospital.
Divide the laboratory into controlled zones
A TB workflow should distinguish areas according to contamination risk rather than relying only on room names. A practical arrangement may include a clean administrative zone, a specimen reception and triage zone, a controlled processing zone, a testing zone, and a decontamination or waste exit. The transition between zones should be deliberate, with defined points for hand hygiene, gowning, glove changes, and surface disinfection.
Draw arrows for people, specimens, paperwork, equipment, and waste separately. A specimen should move forward through the process wherever possible. Staff should not need to carry an open rack from a higher-risk bench through a clean office to reach an analyser. If space is limited, time-based separation, sealed secondary containers, and documented cleaning may provide additional controls, but these should be visible on the map.
Airflow and ventilation deserve a specific layer. Work involving potentially infectious aerosols should occur in an appropriate biological safety cabinet, with the cabinet positioned and maintained according to local requirements. The map should identify doors, pass-throughs, sinks, and ventilation-sensitive areas so that routine traffic does not undermine containment.
Make handoffs and containers unambiguous
Cross-contamination often occurs at handoff points rather than during the main analytical step. Define who accepts a specimen, what container is used, how the outer surface is checked, and where the item waits if information is incomplete. A rejected or leaking specimen needs its own route that does not bring it back through the standard clean pathway.
Use clear status labels such as received, awaiting clarification, opened, processed, pending culture, and ready for disposal. Barcode scanning can reduce transcription errors, but it does not replace visual checks and a controlled approach to racks. Keep clean racks and used racks visibly distinct, and never return a used rack to a clean storage location without validated decontamination.
Australian services may receive specimens through hospital pneumatic tube systems, commercial couriers, or scheduled transport between regional sites. The workflow map should state whether a particular container is suitable for that route and what happens after a delay. A sample arriving from Perth or a remote Northern Territory community may require different escalation arrangements from one delivered within a Melbourne hospital campus.
Match the map to testing technology
The workflow must reflect the actual order of operations for smear microscopy, molecular testing, culture, identification, and drug susceptibility testing. Identify where aliquoting occurs and whether the same specimen is opened more than once. Every opening, transfer, vortexing step, and centrifugation step should be treated as a possible aerosol or splash event.
Separate activities that create high concentrations of organisms or aerosols from activities involving amplified nucleic acid products. If molecular testing includes areas for reagent preparation, sample addition, and post-amplification analysis, show the direction of movement between them. Never allow staff, consumables, or equipment to travel from a post-amplification area back into a pre-amplification area without a validated control.
Equipment placement also affects risk. A centrifuge should be positioned so that a spill can be contained and cleaned without crossing a clean route. The map should identify the location of sealed buckets, safety cups, spill kits, disinfectants, and emergency contacts. In the Australian market, platforms such as GeneXpert and other automated systems may simplify some steps, but their sample loading, cartridge disposal, maintenance, and error-handling requirements still need to appear in local procedures.
Build competence into the workflow
A map is effective only when staff know what each symbol, boundary, and decision point means. For every critical activity, specify the required competency: specimen acceptance, cabinet operation, respiratory protection, centrifuge use, spill response, waste handling, result verification, and equipment decontamination. Include contractors, cleaners, couriers, students, and new employees where their actions could affect containment.
Training records should show the skill assessed, the method used, the assessor, the date, and any retraining required. The GLI resource on TB biosafety training records provides a practical basis for documenting these competencies. This is particularly important where Australian laboratories rely on rotating biomedical scientists or shared staff across public health and hospital departments.
Do not rely on an informal verbal handover alone. Australian workplace customs often favour quick conversations at the end of a shift, but critical information should also be recorded in the laboratory information system or an approved log. A documented handoff should identify unusual specimens, delayed processing, spills, instrument faults, and any deviation from the mapped route.
Test the design against real working conditions
Walk the route with staff while carrying an empty specimen rack, a sealed transport container, and a waste bag. Observe where doors, phones, computers, bins, and other people interrupt movement. Then repeat the exercise during a peak period, at shift change, and when one staff member is absent. These observations frequently reveal shortcuts that are invisible in a meeting room.
Use a simple risk review for each step: what could be released, where could it travel, who could be exposed, and what control would detect or prevent the event? Consider a leaking container, a dropped tube, a failed centrifuge bucket, a power outage, a full waste bin, and a positive culture result requiring urgent referral. Include cleaning and recovery time in the workflow rather than treating an incident as an exceptional event outside the system.
The GLI quality checklists can support a structured review of laboratory practices and quality system elements. Compare the physical map with the checklist findings, incident reports, environmental monitoring where applicable, and staff observations. A map that looks efficient but depends on unavailable disinfectant, broken cabinet alarms, or an unreliable courier is not a controlled workflow.
Keep the map current and visible
Display a simplified version near the relevant work area, using consistent colours and symbols for clean areas, specimen movement, waste, and restricted activities. Keep the controlled master version in the document system, with an owner, approval date, revision history, and review interval. Retire old copies so that staff do not follow an earlier route after equipment or room changes.
Review the map whenever the laboratory introduces a new analyser, changes a room, alters opening hours, adds a referral test, or experiences a contamination event. A new instrument may remove one manual transfer while creating a different waste or maintenance pathway. Procurement decisions should therefore include space, decontamination, power, ventilation, service access, and consumables rather than focusing only on purchase price.
Continual improvement can be modest and measurable. Track rejected specimens, repeat testing caused by suspected contamination, spill incidents, corrective actions, and delays at handoff points. Discuss trends with the team and update the map when evidence shows that a control is weak. A workflow map should remain a working quality document, not a poster that is forgotten after accreditation review.
A carefully mapped TB laboratory workflow gives staff a shared picture of how specimens and risks move through the service. Start with the real route, mark every handoff, separate clean and contaminated activities, and test the design under Australian operating conditions. Use the GLI Quality Tool resources to guide review, assign ownership, and turn observations into documented improvements that protect samples, workers, and patients.