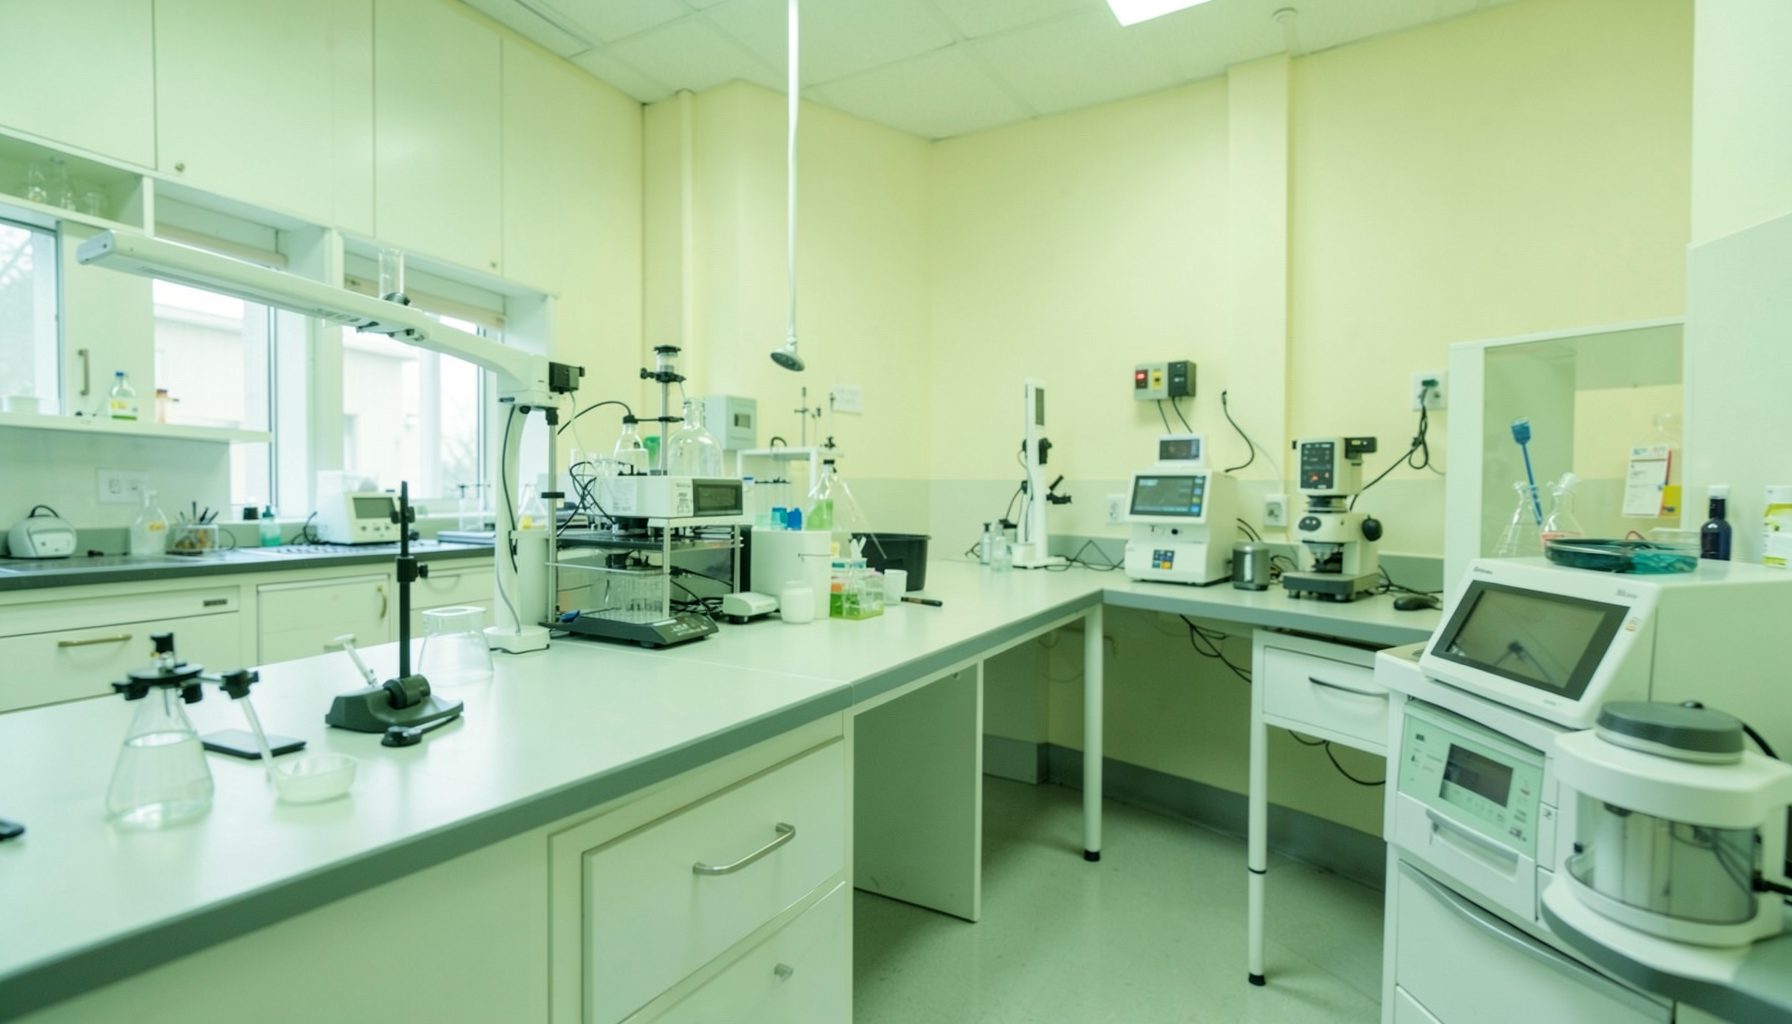
Creating a User-Friendly Checklist for Daily TB Lab Equipment Checks
Reliable tuberculosis testing depends on equipment that performs consistently from one shift to the next. A centrifuge with an unusual vibration, a refrigerator outside its temperature range, or a microscope with a damaged power cord can affect safety, workflow, and the credibility of laboratory results. Daily checks help staff identify these problems before they become failures.
A useful checklist should make the correct action obvious. It needs to support busy laboratory personnel without becoming a second logbook full of unnecessary detail. The best design combines a short visual inspection, essential operational checks, clear acceptance criteria, and a defined response when something is wrong.
The checklist should also fit the laboratory’s quality management system. It can support equipment management, facilities and safety, personnel responsibilities, documents and records, assessment, and continual improvement. When daily observations are recorded consistently, the laboratory gains evidence for maintenance planning and quality reviews.
Start with the equipment and its risks
Begin by listing every item that requires a daily check, then separate equipment that genuinely needs daily attention from equipment covered by weekly, monthly, or manufacturer-recommended maintenance. A biosafety cabinet, centrifuge, incubator, refrigerator, freezer, microscope, autoclave, pipette, and temperature-monitoring device may need different inspection frequencies.
Risk should determine the level of detail. Equipment that protects staff from exposure or preserves specimens deserves prominent safety and performance checks. For example, a biosafety cabinet checklist may include airflow status, alarms, sash position, work-surface condition, and visible obstructions. A specimen refrigerator may require temperature, door seal, cleanliness, and alarm checks.
Avoid copying a generic form without adapting it to local equipment models and procedures. Record the asset identification number, location, responsible section, and operating range. If the laboratory has similar devices, each unit should still be identifiable so that a problem can be traced to the correct instrument.
Turn technical requirements into observable checks
A daily checklist is easier to use when each item describes something the staff member can see, measure, or confirm. “Check centrifuge” is too vague. “Inspect the lid lock, rotor, buckets, power cord, and display; run the start-up check if required” gives the user a practical sequence.
Use plain language and one action per line. Include the expected condition beside the check whenever possible. A refrigerator entry might say, “Temperature is within the approved range of 2–8°C,” while a microscope entry could state, “Light source works, lenses are clean, and the stage moves smoothly.” These criteria reduce variation between users and make review easier.
Some checks are visual, while others require a reading or functional test. Mark the difference clearly. A check box may be suitable for cleanliness, intact labels, and visible damage, whereas a numeric field is better for refrigerator temperature, incubator temperature, or autoclave pressure. Do not ask staff to record values that the laboratory will never review.
Build a simple recording method
The form should capture the date, time when relevant, equipment identification, staff initials, and status. A simple “Pass,” “Fail,” or “Not applicable” format usually works better than a long narrative field. Where a failure occurs, provide a short space for the issue, immediate action, and referral number or maintenance record.
Electronic forms can improve legibility and make trend analysis easier, but a controlled paper form remains appropriate where access to computers is limited. In either format, the record must be protected from unauthorized changes, retained for the required period, and available during internal reviews or external assessments.
Use consistent symbols and explain them at the top of the form. For instance, “P” can mean acceptable, “F” can mean unacceptable, and “N/A” can mean not applicable. If a device is out of service, staff should not simply mark the item as failed and continue using it. The procedure should require labeling, segregation where necessary, notification of the supervisor, and assessment of any potentially affected work.
| Equipment or area | Daily check | Acceptance criterion | Action if unacceptable |
|---|---|---|---|
| Biosafety cabinet | Alarm, sash, airflow indicator, surface, and power | Indicator and alarms function; cabinet is clean and unobstructed | Stop work if safety is compromised; notify supervisor and arrange service |
| Centrifuge | Rotor, buckets, lid lock, display, and unusual noise | Parts are intact, lid locks, and unit operates without abnormal vibration | Remove from use and report for technical assessment |
| Refrigerator | Temperature, door seal, cleanliness, and alarm | Temperature remains within the approved range; door closes securely | Protect specimens, record excursion, and escalate promptly |
| Microscope | Cords, illumination, lenses, stage, and focus | Optics are clean and movement is smooth | Clean according to procedure or label for repair |
| Autoclave | Water level, chamber condition, door seal, and indicator | Unit is ready for use and safety features are intact | Do not operate if a safety or seal defect is present |
| Pipette | Exterior condition and routine performance indicator | No damage or leakage; verification status is current | Set aside and follow calibration or repair procedure |
Connect checks to action and accountability
A checklist has value only when a failed result leads to a controlled response. Define who can correct a minor issue, who must authorize continued use, and who contacts biomedical engineering or an external service provider. Cleaning a microscope lens may be within the user’s role, while opening a centrifuge housing or adjusting a biosafety cabinet is not.
Include a decision point for equipment that is safe to use with restrictions. For example, a refrigerator with a functioning secondary unit may require transfer of specimens, while a broken centrifuge may require a temporary change in sample-processing workflow. These decisions should be supported by written procedures rather than personal judgment alone.
The person completing the form should sign or initial the record, but accountability does not stop there. A supervisor should review failures at a defined frequency and verify that corrective actions were completed. Repeated temperature excursions, recurring power faults, or frequent rotor damage may indicate a deeper process problem requiring preventive action.
Keep the checklist controlled and accessible
Place the current checklist where the equipment is used or make it available through the laboratory’s controlled document system. A form hidden in a quality folder is unlikely to support daily behavior. The header should show the document title, code, version, effective date, page number, and approval status.
When equipment changes, review the form before implementation. A replacement incubator may have different alarm settings, while a new biosafety cabinet may use a different airflow indicator. Obsolete forms should be removed from work areas to prevent staff from recording information on an uncontrolled version.
The GLI Quality Tool offers downloadable materials that can help laboratories align equipment records with broader quality management activities. Adapt such resources to local procedures, national requirements, manufacturer instructions, and the laboratory’s available staffing and infrastructure rather than treating them as fixed templates.
Design principles for a practical checklist
Test the draft with the people who will use it during a normal working day. Ask a technologist to complete it while preparing the laboratory, then observe where they pause, interpret wording differently, or skip an item. A short pilot can reveal whether the form is too crowded, whether readings are easy to enter, and whether responsibilities are clear.
Keep the final version brief enough to complete reliably, but detailed enough to protect patients, staff, and specimens. The following practices make a daily equipment check more usable:
- Group checks by equipment or work area so staff do not move randomly through the laboratory.
- Put safety-critical items first and use bold text or shading sparingly to highlight them.
- Provide a specific space for measurements, failures, corrective actions, and initials.
- Include “not applicable” only when its use is controlled and explained.
- Review the completed forms periodically for recurring faults, missed entries, and opportunities to simplify the process.
Train all relevant personnel before launching the checklist. Demonstrate each inspection, explain acceptable limits, and show how to respond to a failed item. New staff should complete supervised checks until they can follow the procedure independently. Refresher training is appropriate after equipment changes, repeated documentation errors, or revisions to acceptance criteria.
Use records to improve laboratory performance
Daily checks create a useful early-warning system when the laboratory reviews them as a group. Supervisors can track equipment downtime, repeated alarms, temperature excursions, overdue calibration, and common user errors. These findings can guide purchasing decisions, preventive maintenance schedules, staff training, and contingency planning.
The record should connect with other quality documents. A failed daily check may generate a nonconformity report, maintenance request, incident record, or specimen-impact assessment. Cross-referencing these records prevents the checklist from becoming an isolated administrative exercise and supports a traceable response.
Phase-specific quality guidance and practical checklists can support laboratories as they strengthen documentation, assessment, and continual improvement. Use review meetings to decide whether each check remains necessary, whether limits are still correct, and whether trends show that a corrective action has worked.
A well-designed daily equipment checklist turns routine observation into dependable laboratory control. Identify the equipment risks, describe observable conditions, define acceptance limits, record results consistently, and make the response to failure unmistakable. With local testing and regular review, the checklist becomes a practical part of safe, reliable TB laboratory operations rather than another form to complete.