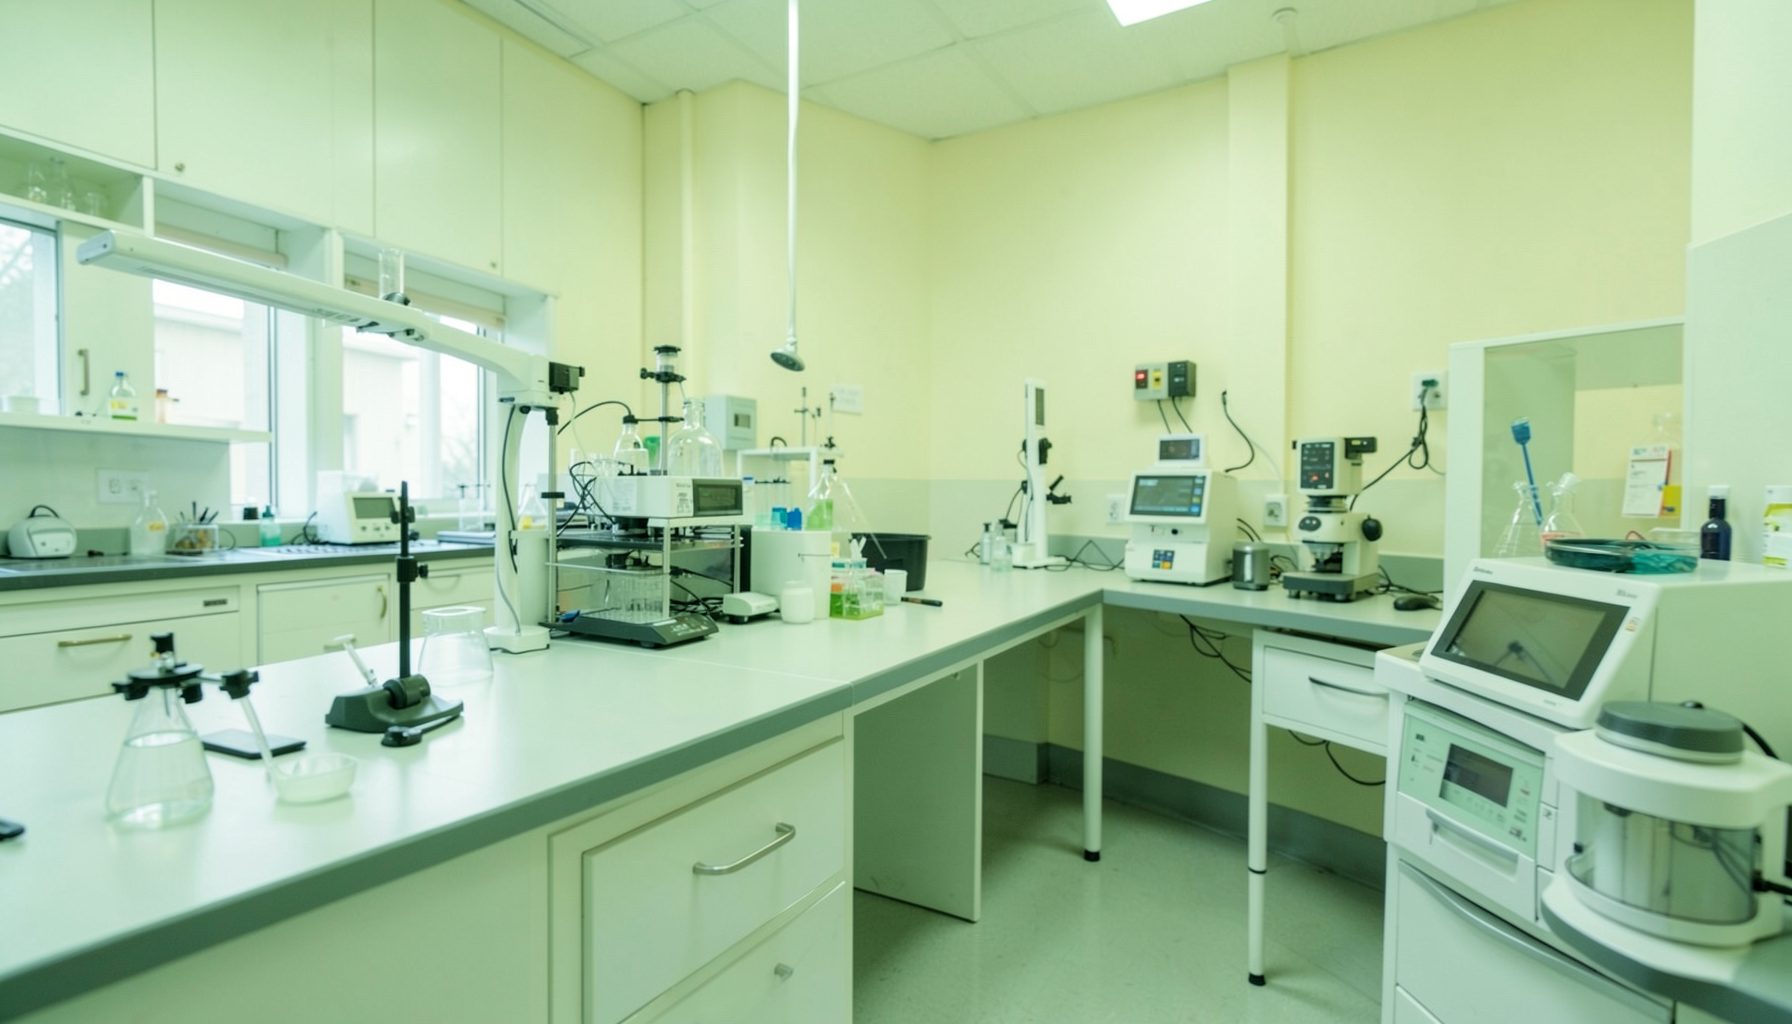
Building a Practical TB Laboratory Safety Inspection Checklist
A TB laboratory safety inspection checklist should help staff identify hazards before an incident occurs, verify that emergency controls are usable, and document actions through completion. It should cover routine work areas, specimen reception, testing rooms, storage spaces, waste handling points, and shared corridors or exits.
Fire extinguishers and eyewash stations deserve particular attention because their value depends on access, suitability, maintenance, and staff familiarity. An extinguisher hidden behind supplies is not available in practice, while an eyewash unit with blocked nozzles or expired flushing records may fail when urgently needed.
The checklist should fit the laboratory’s actual workflow and risk profile. A facility processing infectious specimens may need checks for biological containment, chemical exposure, centrifuge hazards, compressed gases, electrical equipment, and emergency response arrangements alongside fire protection and first aid.
Define The Inspection Scope
Begin by identifying the rooms, equipment, activities, and personnel included in the inspection. Draw a simple layout showing entrances, emergency exits, fire extinguishers, eyewash stations, spill kits, first-aid supplies, alarms, and shut-off controls. Include areas that are easy to overlook, such as cold rooms, reagent stores, waste holding areas, generator rooms, and corridors used for evacuation.
The checklist should distinguish between conditions that require immediate action and those that can be corrected through routine maintenance. For example, a blocked emergency exit, missing extinguisher, or nonfunctional eyewash station should receive a higher priority than a faded label that remains legible.
Use the GLI Quality Tool’s phase one guidance to connect the inspection with broader laboratory quality management activities. Safety checks work best when they are assigned to responsible staff, reviewed by laboratory leadership, and incorporated into documented corrective action processes.
Map Hazards And Emergency Routes
A useful inspection begins with the hazards generated by each activity. TB laboratories should consider infectious aerosols, respiratory exposure, disinfectants, stains, solvents, acids, compressed gases, heat sources, electrical devices, and sharps. The checklist can ask whether controls such as biosafety cabinets, sealed centrifuge cups, local ventilation, and suitable personal protective equipment are available and used correctly.
Emergency routes must remain clear from the workbench to the final exit. Check that doors open as intended, exit signs are visible, emergency lighting functions, and evacuation maps are current. Do not treat a storage area as harmless simply because it is not part of the testing room; boxes and chemical containers can obstruct passage or add fuel to a fire.
Record whether staff know the designated assembly point and how to report an exposure, fire, spill, or equipment failure. A short interview during the inspection can reveal gaps that a visual review will miss. Staff should be able to explain whom to contact, where to go, and what immediate action is expected without searching through several documents.
Inspect Fire Extinguishers
The checklist should identify every extinguisher by location, type, capacity, and asset number. Confirm that each unit is appropriate for the hazards nearby, mounted or positioned securely, visible, and reachable without moving equipment or supplies. Its access path should remain clear even when the laboratory is busy.
Inspect the pressure indicator where applicable, the safety pin, tamper seal, hose or nozzle, cylinder condition, and inspection tag. Look for corrosion, dents, leakage, damaged handles, missing labels, or evidence that the unit has been discharged. Do not ask untrained personnel to test or discharge an extinguisher; servicing and refilling should be performed by qualified personnel according to local requirements.
The checklist should also verify that staff know the difference between an extinguisher inspection and firefighting training. Personnel need clear instructions about raising the alarm, evacuating, closing doors if safe, and only attempting to use an extinguisher when the fire is small, an exit remains available, and they have been trained. Laboratory-specific drills can include electrical, chemical, and waste-related fire scenarios.
Document the inspection date, person responsible, finding, action owner, and due date. A unit that fails inspection should be marked and escalated promptly rather than left in service while a replacement is arranged. Keep service certificates and training records with other controlled safety documentation.
Verify Eyewash Stations
Eyewash stations should be located where chemical splashes or infectious material exposure could occur, with a travel path that does not require passing through a locked door or a hazardous area. They must be easy to recognize, unobstructed, well lit, and reachable quickly. If a portable unit is used, confirm that it is suitable for the expected risk and maintained according to the manufacturer’s instructions.
Check caps, nozzles, bowls, pull handles, water flow, cleanliness, and signs of corrosion or contamination. For plumbed units, activate the station during scheduled checks and verify that both streams rise evenly and reach the required height without excessive pressure. Flushing should be long enough to clear stagnant water and should be recorded according to the facility’s procedure and applicable regulations.
The inspection should confirm that staff know to begin flushing immediately after exposure and continue while seeking medical assistance. Contact lenses, protective clothing, or gloves may need to be removed during flushing when safe to do so. The eyewash is an emergency response device, not a substitute for goggles, face protection, safe chemical handling, or engineering controls.
Where a station is connected to a sink or combined shower, check that the surrounding floor remains safe and that activation does not create an electrical or slipping hazard. Any failed flow test, blocked nozzle, missing dust cover, or expired portable solution should generate a corrective action with a clear deadline.
Record Findings And Corrective Actions
A strong checklist uses consistent response fields rather than relying on free-text notes alone. Each item can include a status such as compliant, partially compliant, noncompliant, not applicable, or unable to verify. Add space for evidence, photographs where permitted, immediate controls, assigned responsibility, and a target completion date.
| Inspection Point | Acceptable Condition | Evidence To Record | Priority If Failed |
|---|---|---|---|
| Extinguisher access | Visible, reachable, and unobstructed | Location and asset number | High |
| Extinguisher condition | Correct type, intact seal, valid service status | Tag, pressure indicator, defects | High |
| Eyewash access | Clearly marked and reachable quickly | Route and surrounding area | High |
| Eyewash operation | Clean, functional, and adequate flow | Test date and observed condition | High |
| Exit route | Clear, illuminated, and openable | Route inspection notes | High |
| Safety signage | Current, legible, and appropriately placed | Sign location and content | Medium |
| Emergency training | Relevant staff know response steps | Attendance or interview record | Medium |
Prioritize findings according to potential harm, likelihood, and the time needed to restore protection. A blocked eyewash in a room where corrosive reagents are handled may require immediate suspension of that activity. A missing directional sign may need prompt correction but can usually be managed temporarily with an alternative control.
Close the loop by reviewing overdue actions during laboratory quality meetings. The person who identifies a problem may not be the person able to fix it, so the checklist should make ownership explicit. Verification should confirm that the corrective measure worked, rather than simply recording that a purchase request or maintenance call was submitted.
Connect Inspections With Quality Management
Safety inspections should be scheduled at a frequency based on risk, use, equipment type, and legal requirements. Some visual checks may occur daily or weekly, while formal reviews and servicing follow monthly, quarterly, annual, or manufacturer-defined intervals. The laboratory should state these frequencies in its procedures and adjust them after incidents, renovations, equipment changes, or repeated failures.
Controlled forms help prevent different inspectors from applying different standards. Use a revision date, document identifier, approval field, and retention period. If a digital form is used, ensure that completed records are protected from unauthorized alteration and can be retrieved during internal reviews, accreditation visits, or investigations.
The checklist resources can support the development of phase-specific inspection documents and help laboratories organize evidence of implementation. Adapt any resource to local legislation, available infrastructure, language, and the laboratory’s actual hazards rather than copying generic requirements without review.
Practical Checklist Design Recommendations
Keep the finished tool short enough for routine use but detailed enough to produce evidence. Group items by location or activity so that an inspector can move through the laboratory logically. Include “not applicable” only when a justification is recorded, since unchecked boxes can hide omissions.
- Assign a unique identifier to each fire extinguisher and eyewash station.
- Include immediate-action instructions for blocked routes, failed equipment, or exposure events.
- Define inspection frequency, responsible roles, and escalation contacts.
- Record corrective action ownership, deadlines, completion evidence, and verification.
- Review checklist results for recurring defects and update training or controls accordingly.
Before approval, test the checklist with a staff member who did not design it. Observe whether the person can find each inspection point, understand the response options, and document a realistic defect. Revise unclear wording, duplicate items, and requirements that cannot be verified consistently.
A safety inspection is most valuable when its findings change daily practice. Use trends to identify repeated access problems, overdue servicing, inadequate signage, or weak emergency knowledge. These patterns can guide procurement, staff training, preventive maintenance, and management review.
Make the checklist part of the laboratory’s routine quality system now: map every emergency control, inspect each extinguisher and eyewash station, assign corrective actions, and retain the completed record as evidence of continuous safety oversight.